Table of Contents
If you’re looking for an affordable, fun and creative way to showcase the personality of your budding business or an indie artist looking to begin selling something online, designing a sticker is an excellent avenue for you! According to eRank, which tracks trending products on the giant e-commerce marketplace, Etsy, stickers were one of the most searched terms on the website, showcasing this demand.
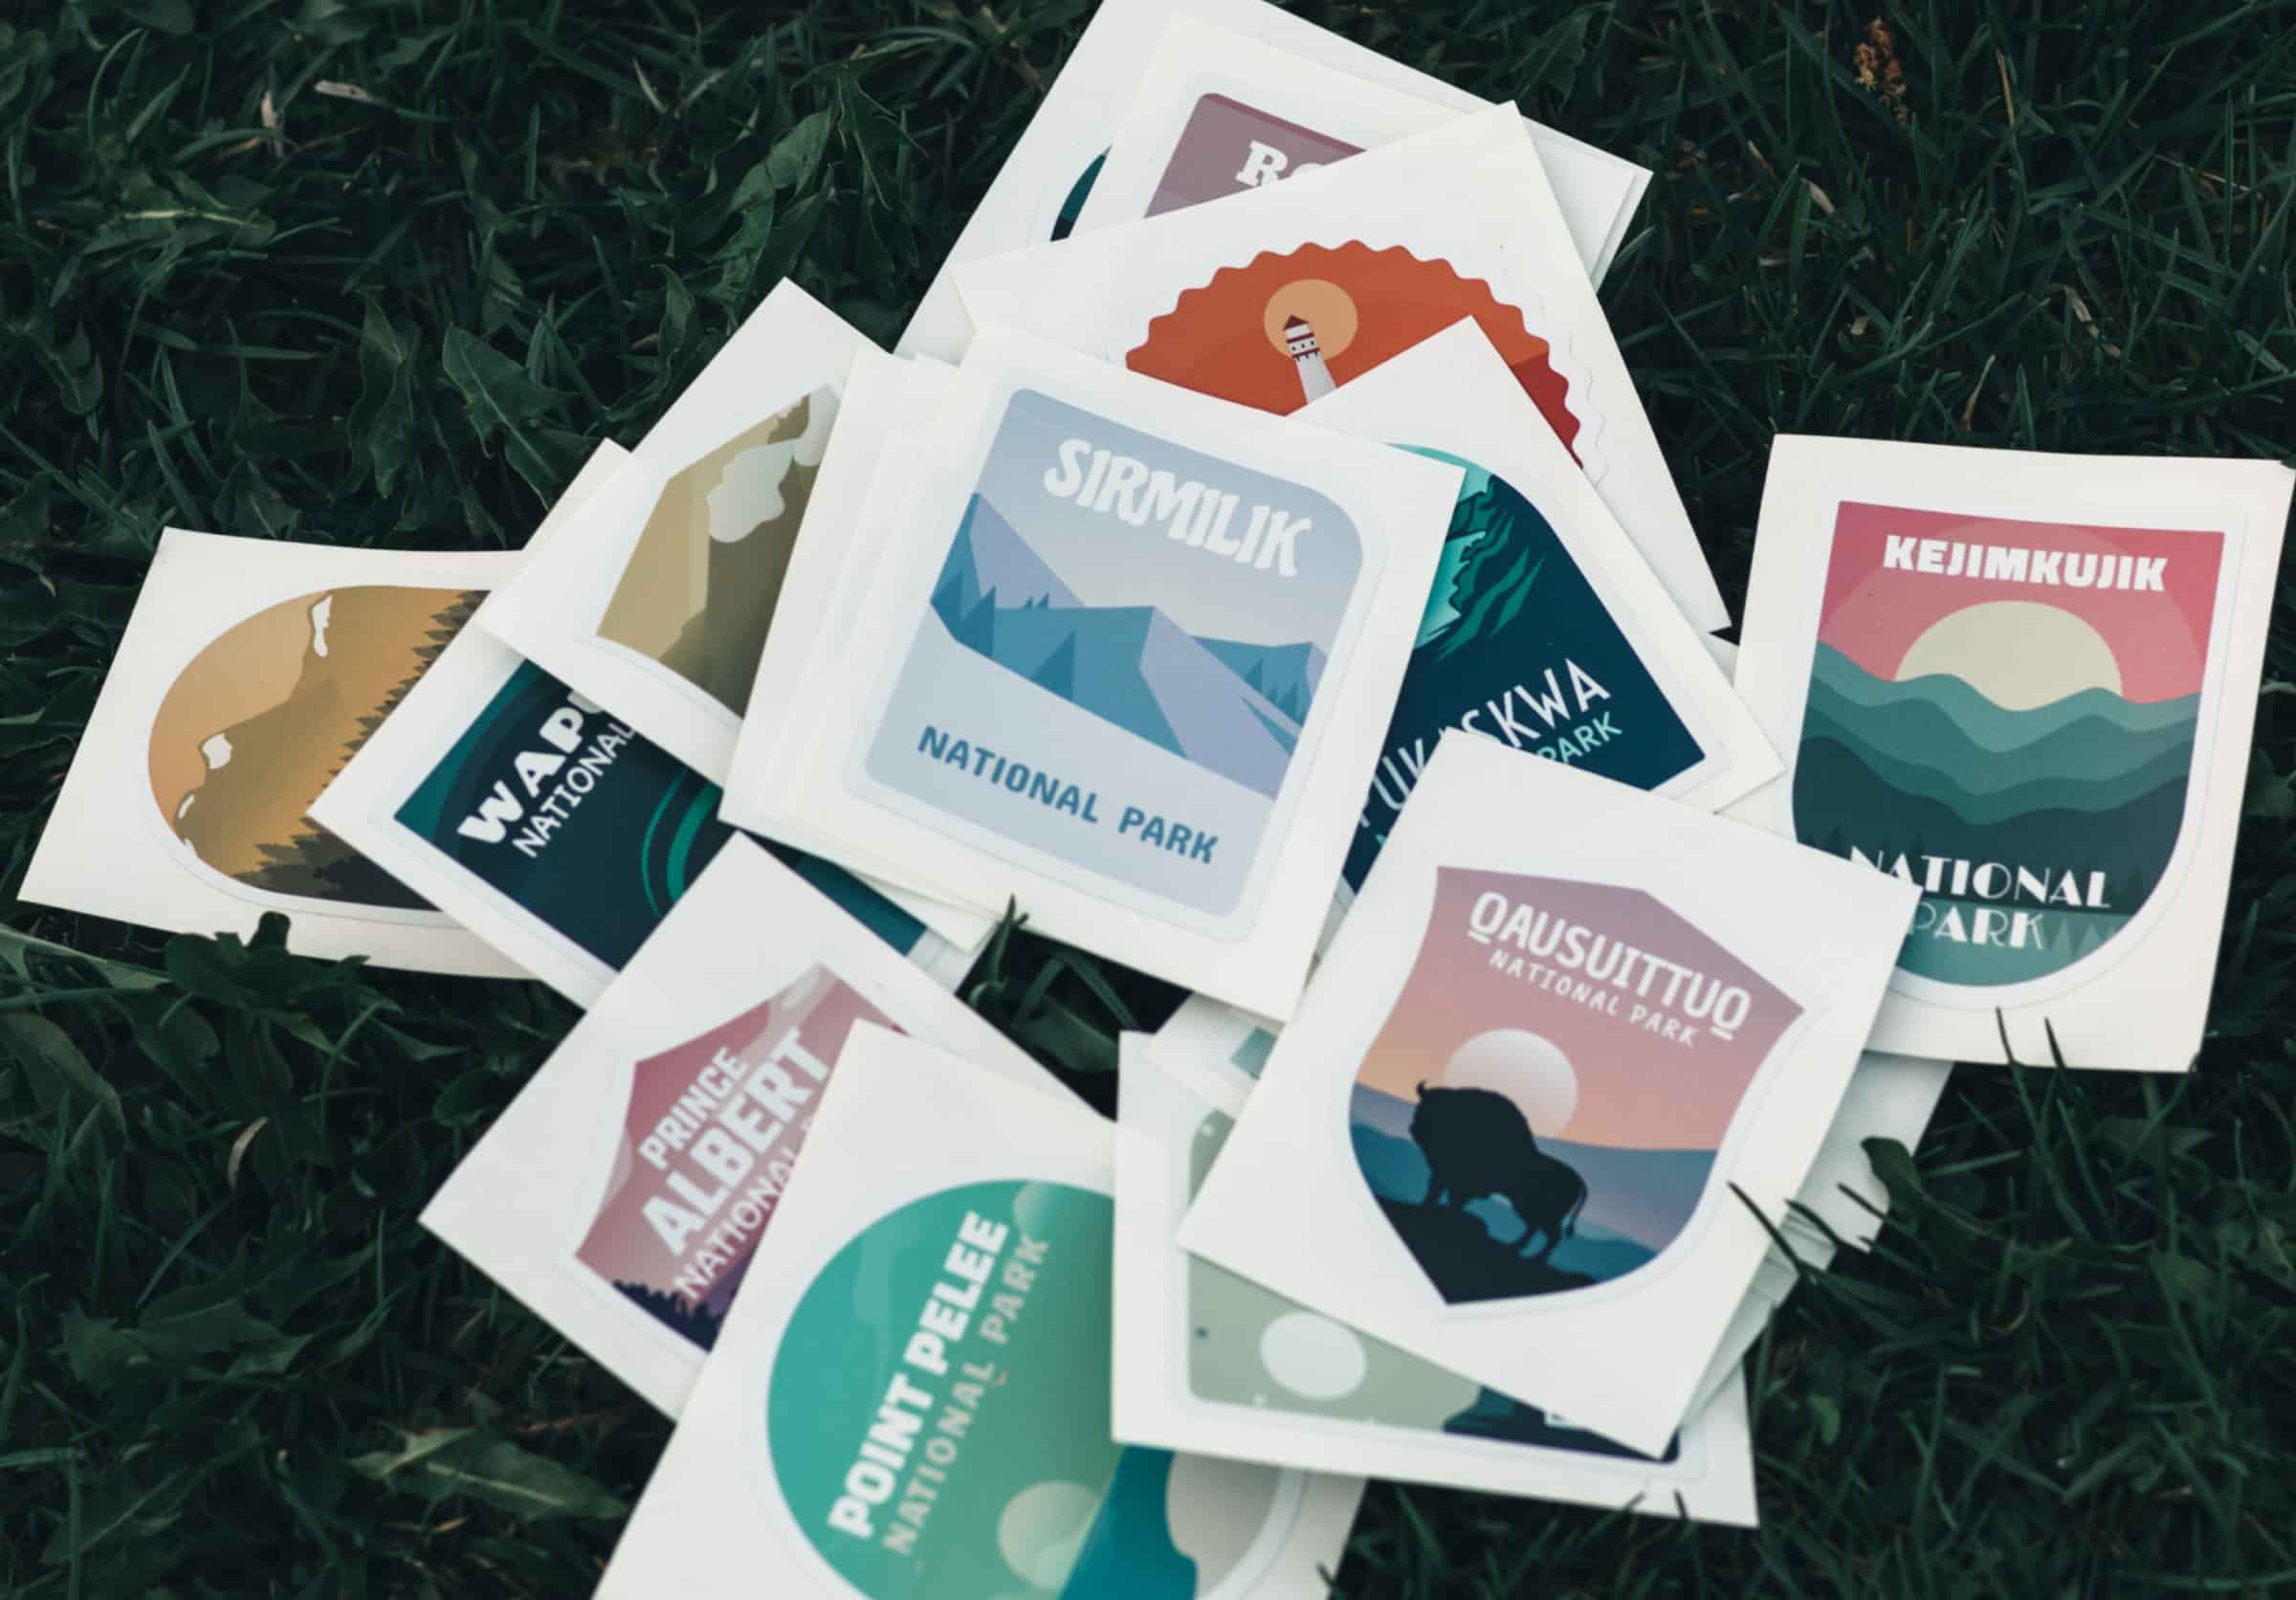
Source: Unsplash
Custom stickers are so versatile, with their ability to stick on any surface like a laptop, notebook or phone case and their ability to adopt any genre or style. The only limitation is your creativity and imagination, so in this article, we will go over five easy steps to start selling your DIY stickers online!
What are Custom DIY Stickers?
Before we get into the steps of how to make your own sticker, it is essential to know what a custom sticker is. Now, you might think a sticker is a sticker; you peel it and put it on a surface and done! Though you are not wrong in this sense, there is more to it than that.
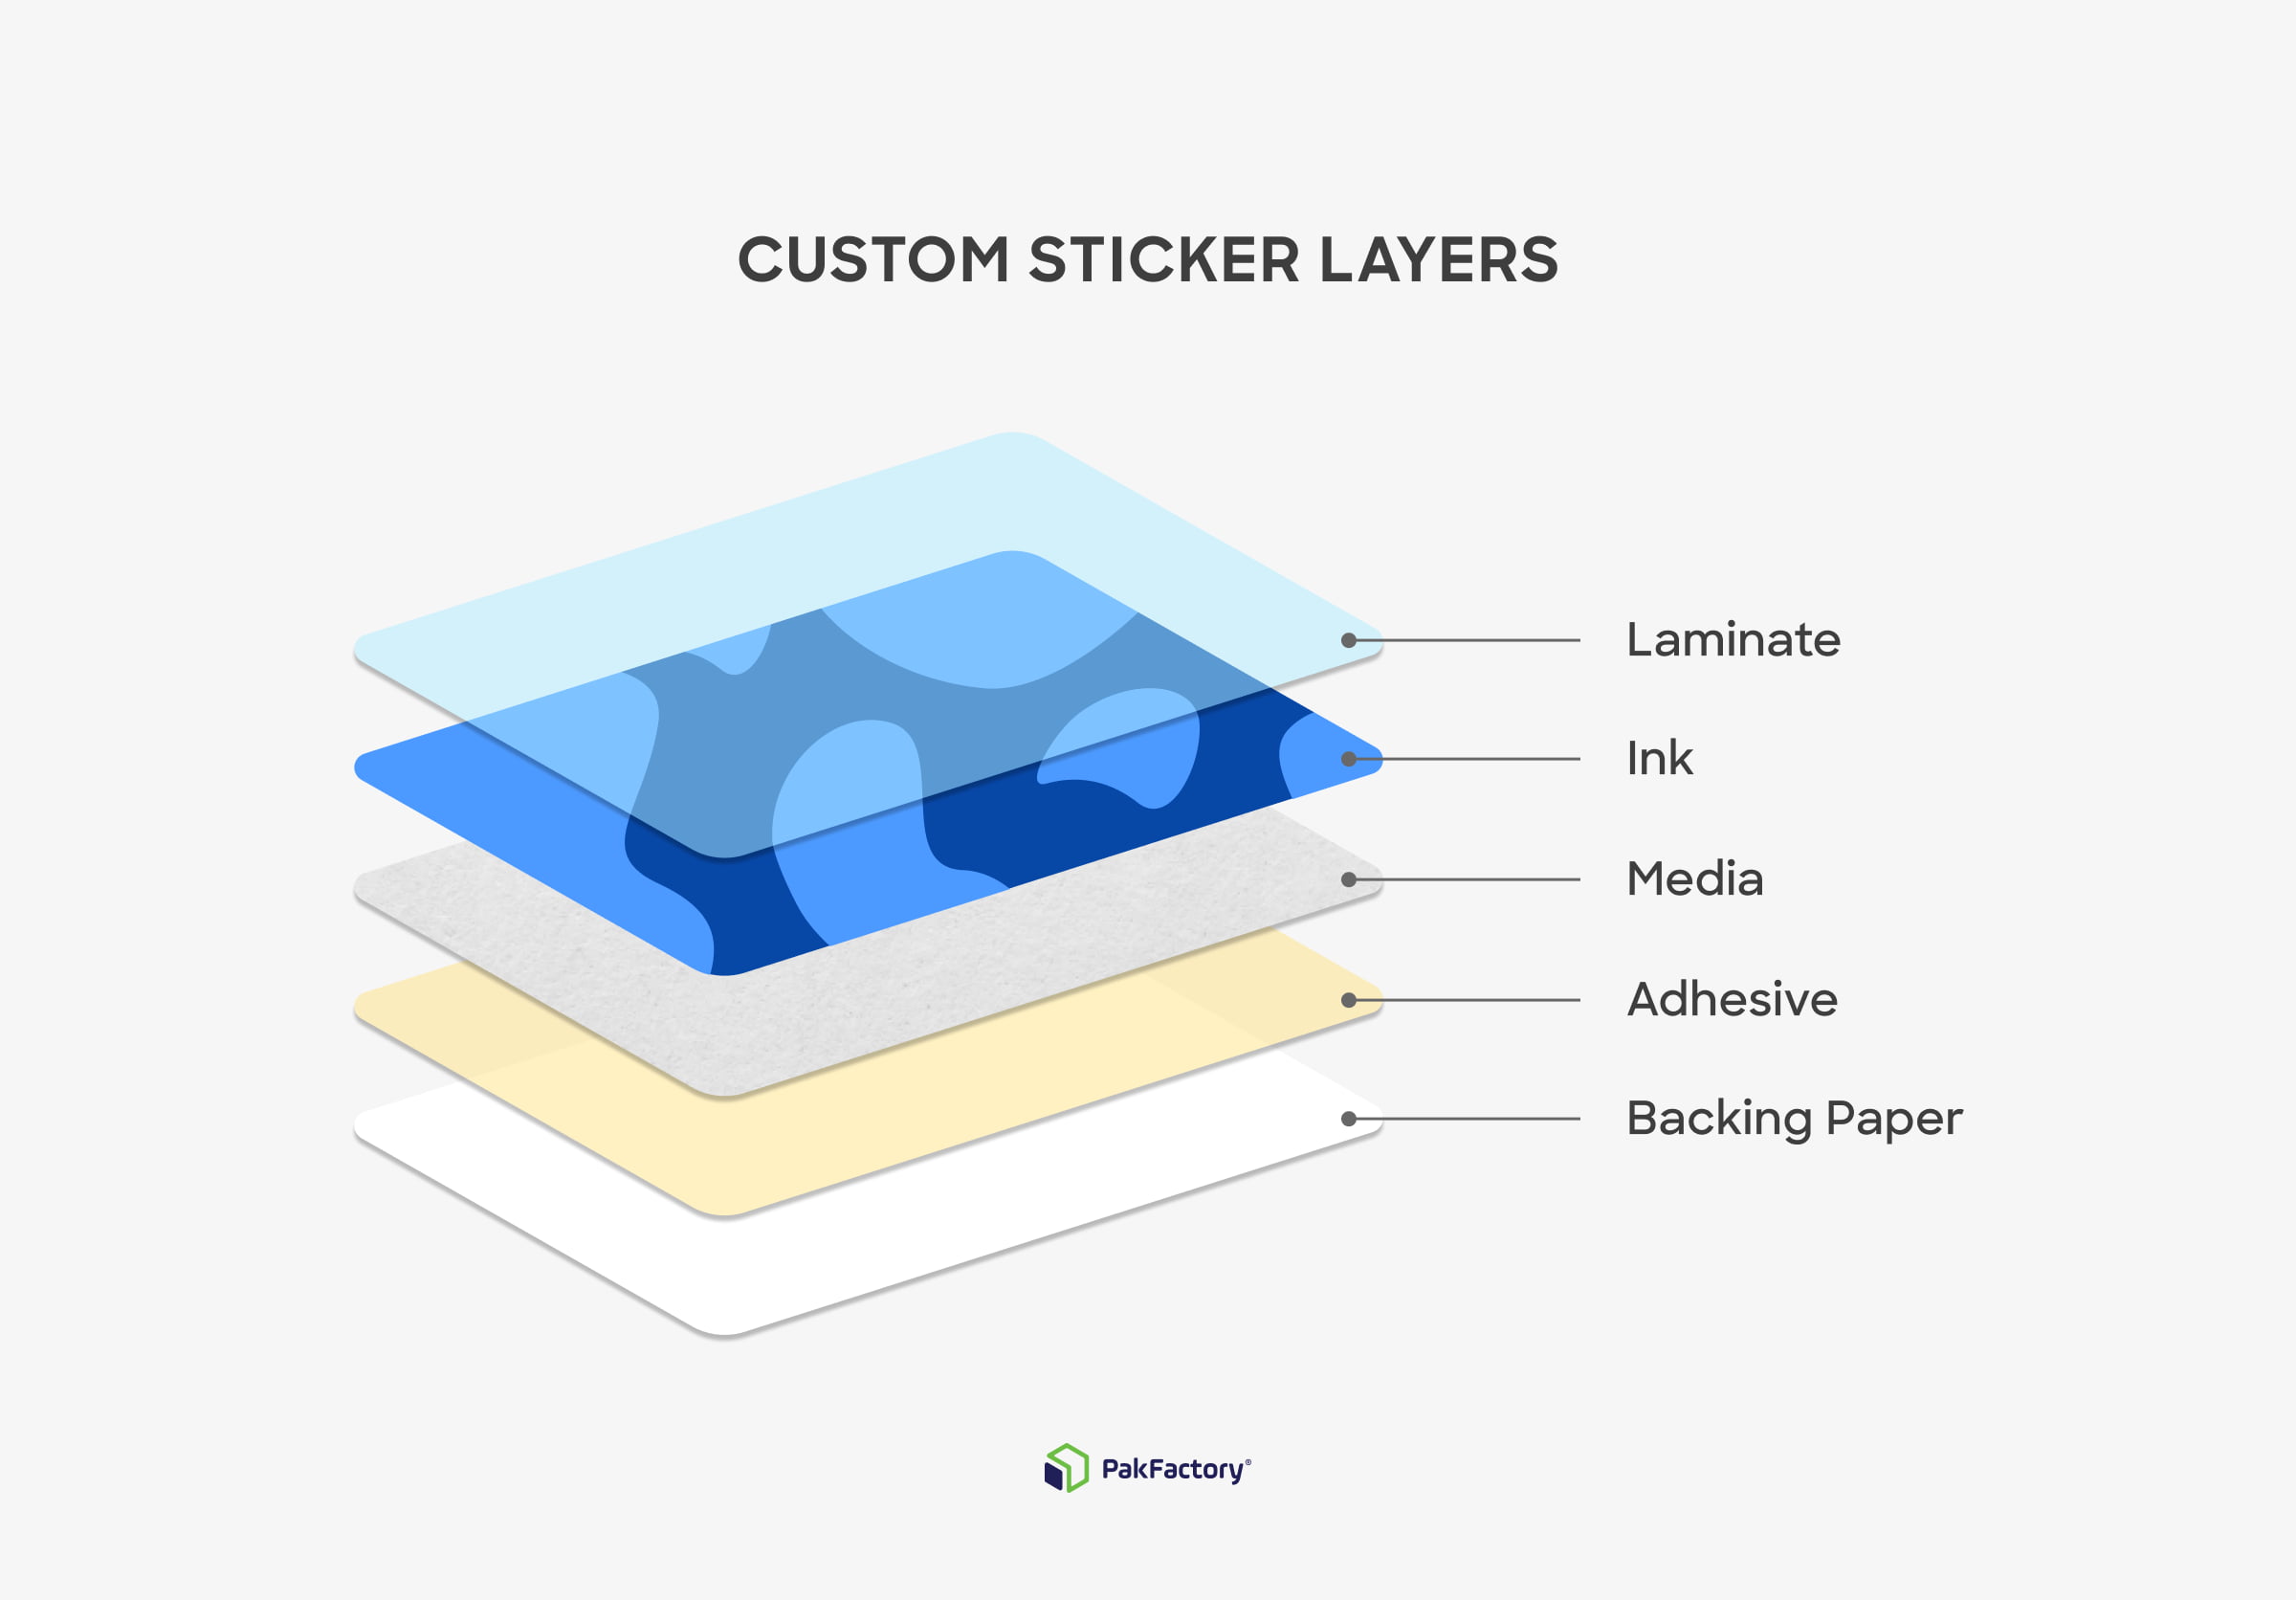
A custom sticker is an individually cut piece of adhesive paper or plastic that can have up to five moddable layers manufactured to fit your needs. These layers include:
- Laminate (optional): For protection
- Ink: Features your custom design typically made via the CMYK color system.
- Media: The paper or plastic your design is printed on
- Adhesive: The sticky part of a sticker
- Backing Paper: The paper that protects your sticker and makes it easy to peel and apply.
Why Make Custom Stickers?
As mentioned earlier, stickers are so versatile, and there is a big market for them online. Whether it’s your illustration or photograph, anything can become a custom sticker to sell online. You can even have different sizes, shapes and unique finishes that work better for various items and audiences.
Source: PakFactory
With the limitless possibilities for creativity, stickers can fit into any style or genre you want, and finding a consumer base that enjoys your particular style isn’t a challenging task. Even from a business cost perspective, making stickers in small orders or larger batches can cost less than $1, and shipping isn’t very costly either, with a rigid envelope the only thing you need.
So if the above facts convinced you to start your voyage into selling your stickers online, let’s cut to the chase and get into how you can quickly get started!
How to Make Stickers Ready for Online Sale
Designing and selling stickers online is relatively straightforward, but like all good things, you still need to overcome a few challenges. The most challenging part regarding DIY stickers comes at the beginning of the five steps.
1. Designing Your Sticker
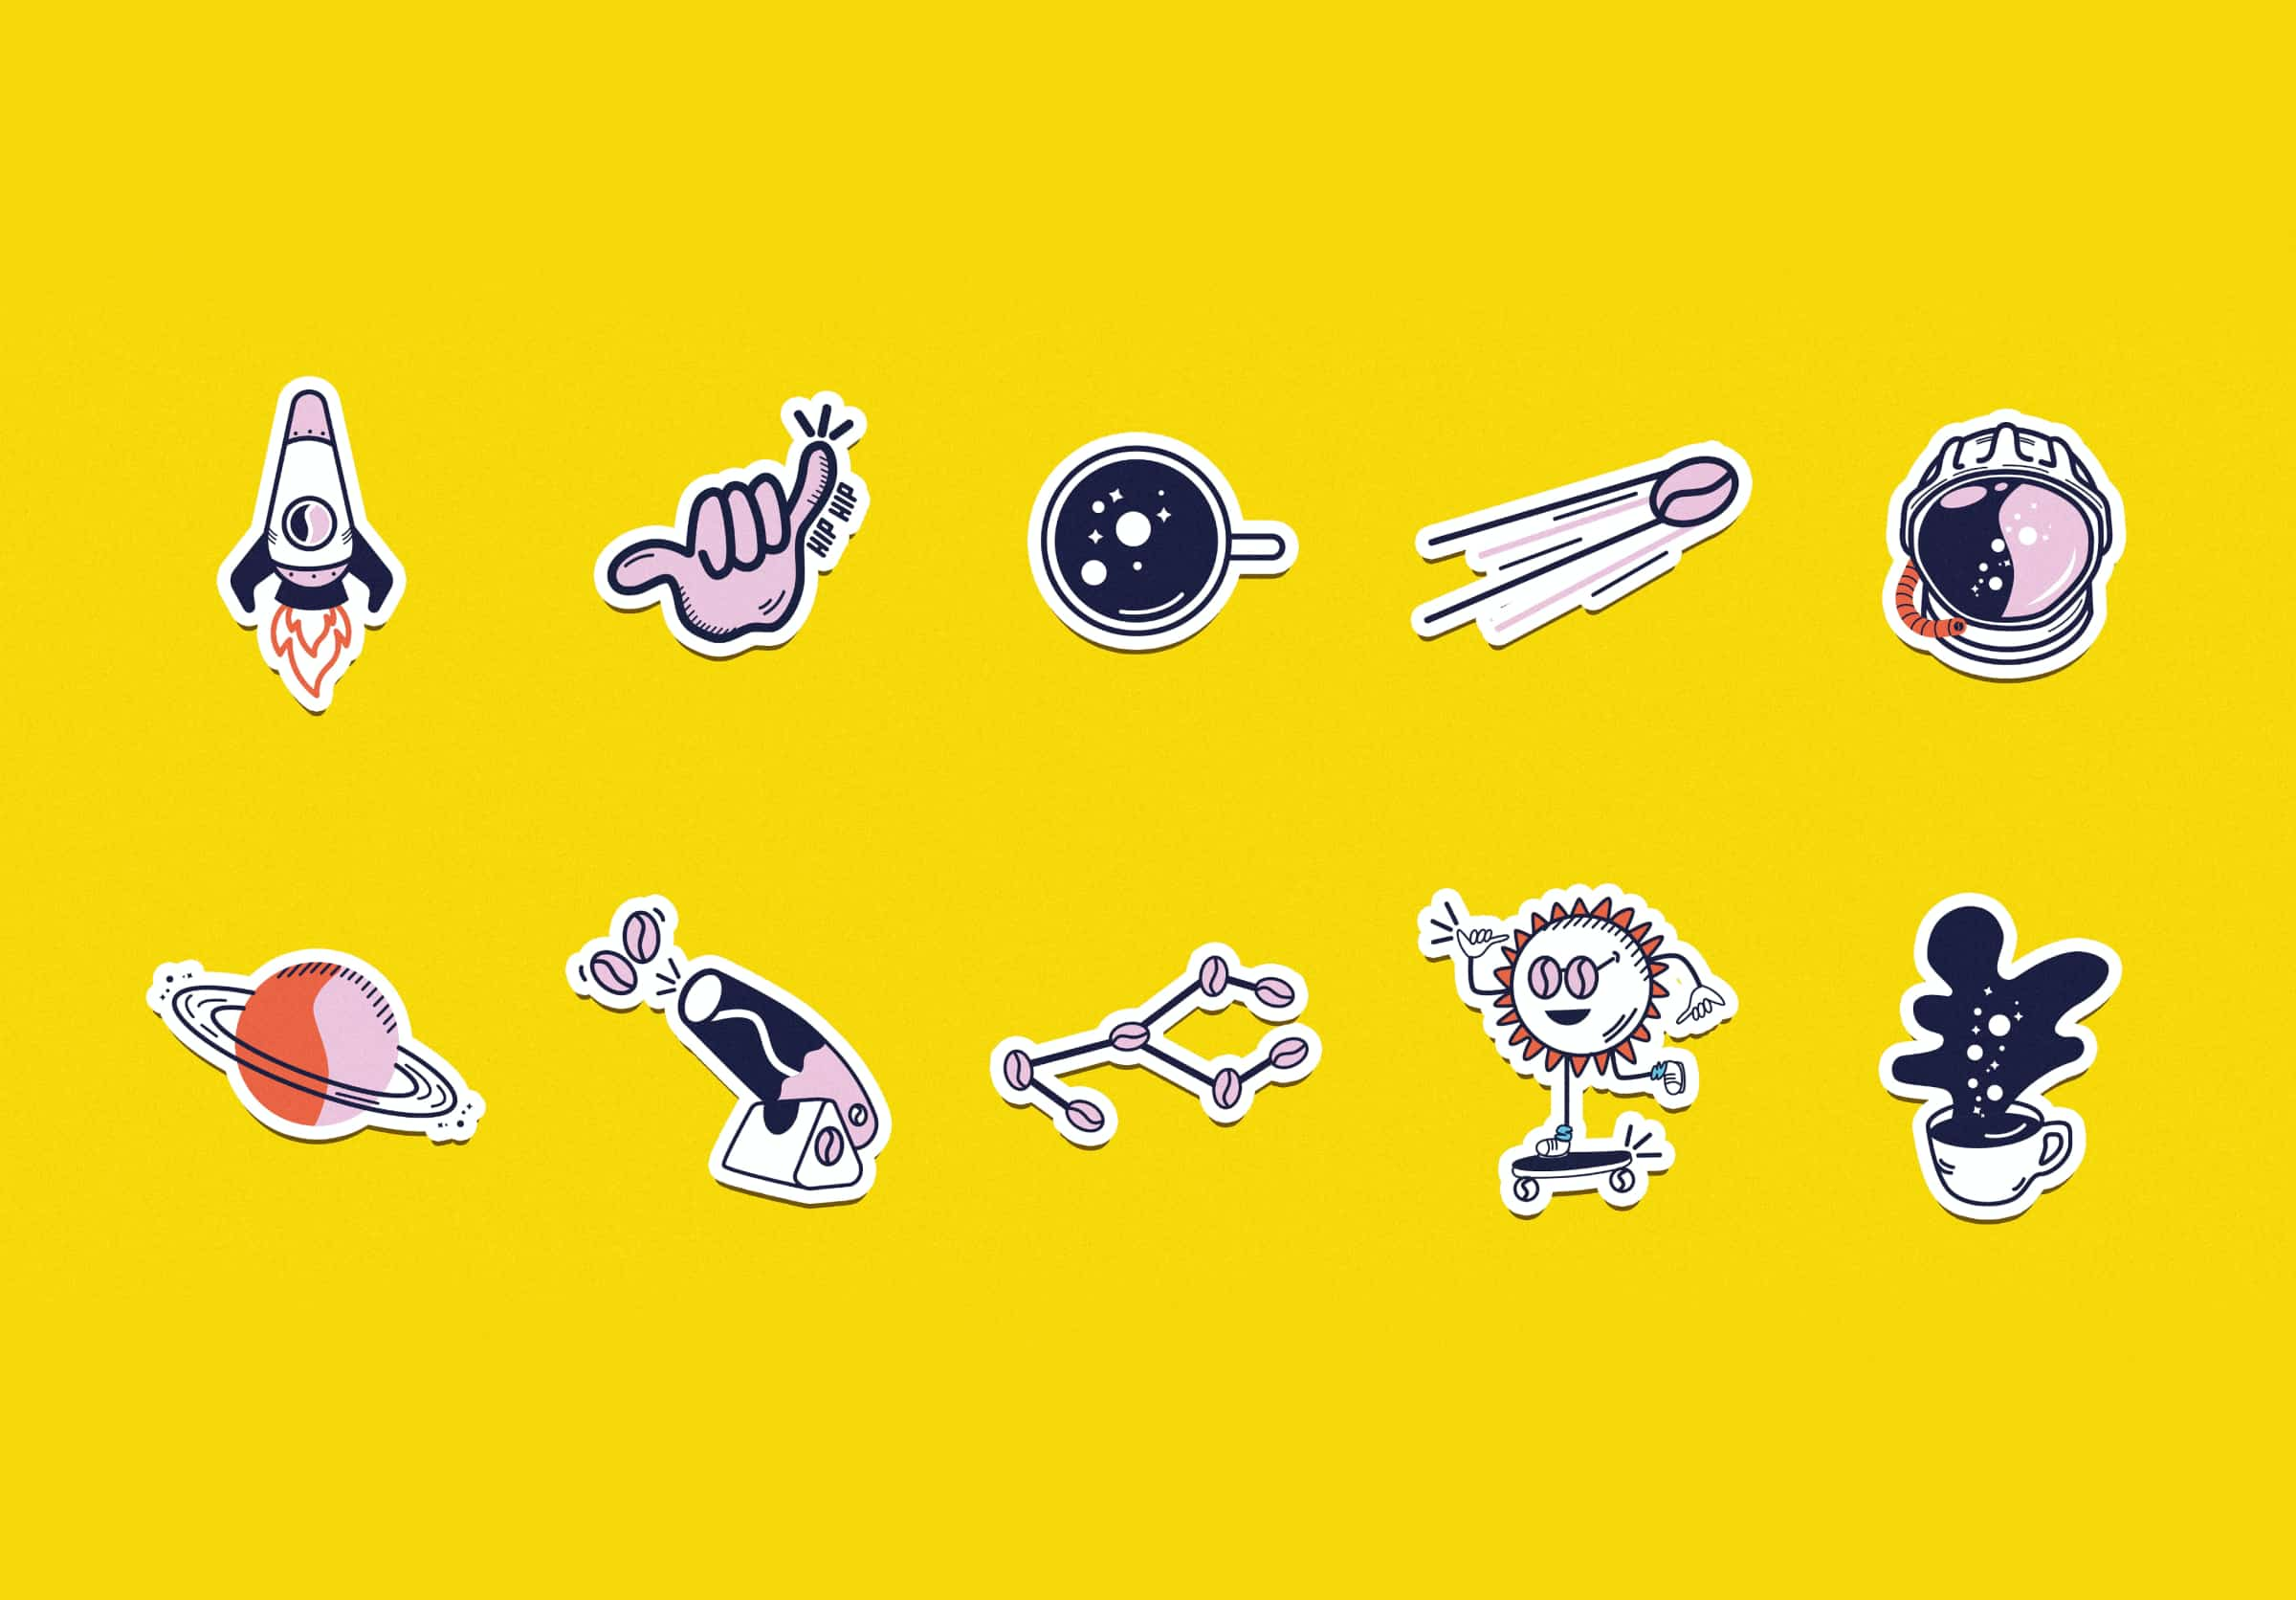
Finding a unique aesthetic can take time and effort. We suggest tapping into your hobbies, interests, artistic styles that inspire you, or symbols that represent your business or personality when creating a design.
Source: Unsplash
Once you’ve found that, you can design your stickers to match those inspirations, and we suggest that any design you create be done via the CMYK color system, as this is the standard for print materials.
Learn more about CMYK here.
2. Select a Printing Method
When choosing how to print your stickers, you have two options: print at home or have the professionals do it for you.
- Printing at home requires more work and time, but it allows you to have control from start to finish and prints stickers on demand. However, you will need the proper equipment, and there are naturally fewer customization options on materials and finishes when making stickers at home.
You’d need a Cricut machine to cut your stickers. Start with calibrating your Cricut machine via the software included with the device. We recommend a few test cuts first, as printing at home involves some trial and error to get perfect.
Once you’ve calibrated your machine, choose your file on your computer, connect it to your printing machine and print using your sticker paper. Apply any lamination or finishes before using your Cricut device to cut the stickers. To help you start making stickers at home, we’ve provided a sticker dieline template below for you to try!
- The other option is to use a printing or manufacturing company. With professional help, you can eliminate the guesswork and hassle while giving more freedom to customize your design. Professional printing companies can create high-volume orders in less time at affordable prices and offer higher-quality finishes and unique templates unavailable at home.
So if you need a custom sticker or label, PakFactory cuts the hassle and gives you a high level of customization you won’t find making custom stickers at home.
3. Where to Sell
Once you’ve completed your sticker design at home or through a professional printing company, it’s time to decide where to sell your products online. Thankfully, there are plenty of options.

Etsy requires making, shipping and managing orders on your own while providing very little customization for your storefront. Each new product comes with a recurring $0.20 listing fee and a 5% commission for each transaction. However, Etsy is simple to set up, and a considerable audience uses this platform, making it an excellent way to get your brand out there.
For Redbubble, selling is easier as you don’t need to make or ship the products. Redbubble allows you to upload your artwork stickers for free and they will handle the production and fulfillment. However, when a customer buys an item, you will need to pay for the manufacturing and shipping costs, which results in a lower profit margin.

With Shopify, you can customize your online storefront with branding, designs and promotions. A monthly fee is required to keep your shop running. But the challenge is that you will need to promote the store via social media, online influencers or email marketing. Do note that many online sellers utilize multiple platforms to diversify and extend their range.
4. Pricing Your Sticker Design
Once you’ve decided where to sell your stickers, how do you calculate pricing? When you’ve put a lot of time and effort into designing the perfect sticker, deciding on a fair price can seem complicated. The best way to determine a reasonable price is to look at your competitors.
Most stickers online will sell between $2-6, but factors like size, materials used (like holographic paper), and design complexity should be considered. Ideally, you need to make a small profit, so calculate the time spent and materials used to create your sticker when deciding upon a fair price.
5. Shipping Your DIY Stickers
The final step is to send your stickers! We mentioned Redbubble handles this, but if you are using other options, you must consider the best way to get your stickers to customers. Thankfully, shipping stickers is a breeze! You only need a stamp and a rigid mailer to protect your stickers from damage.
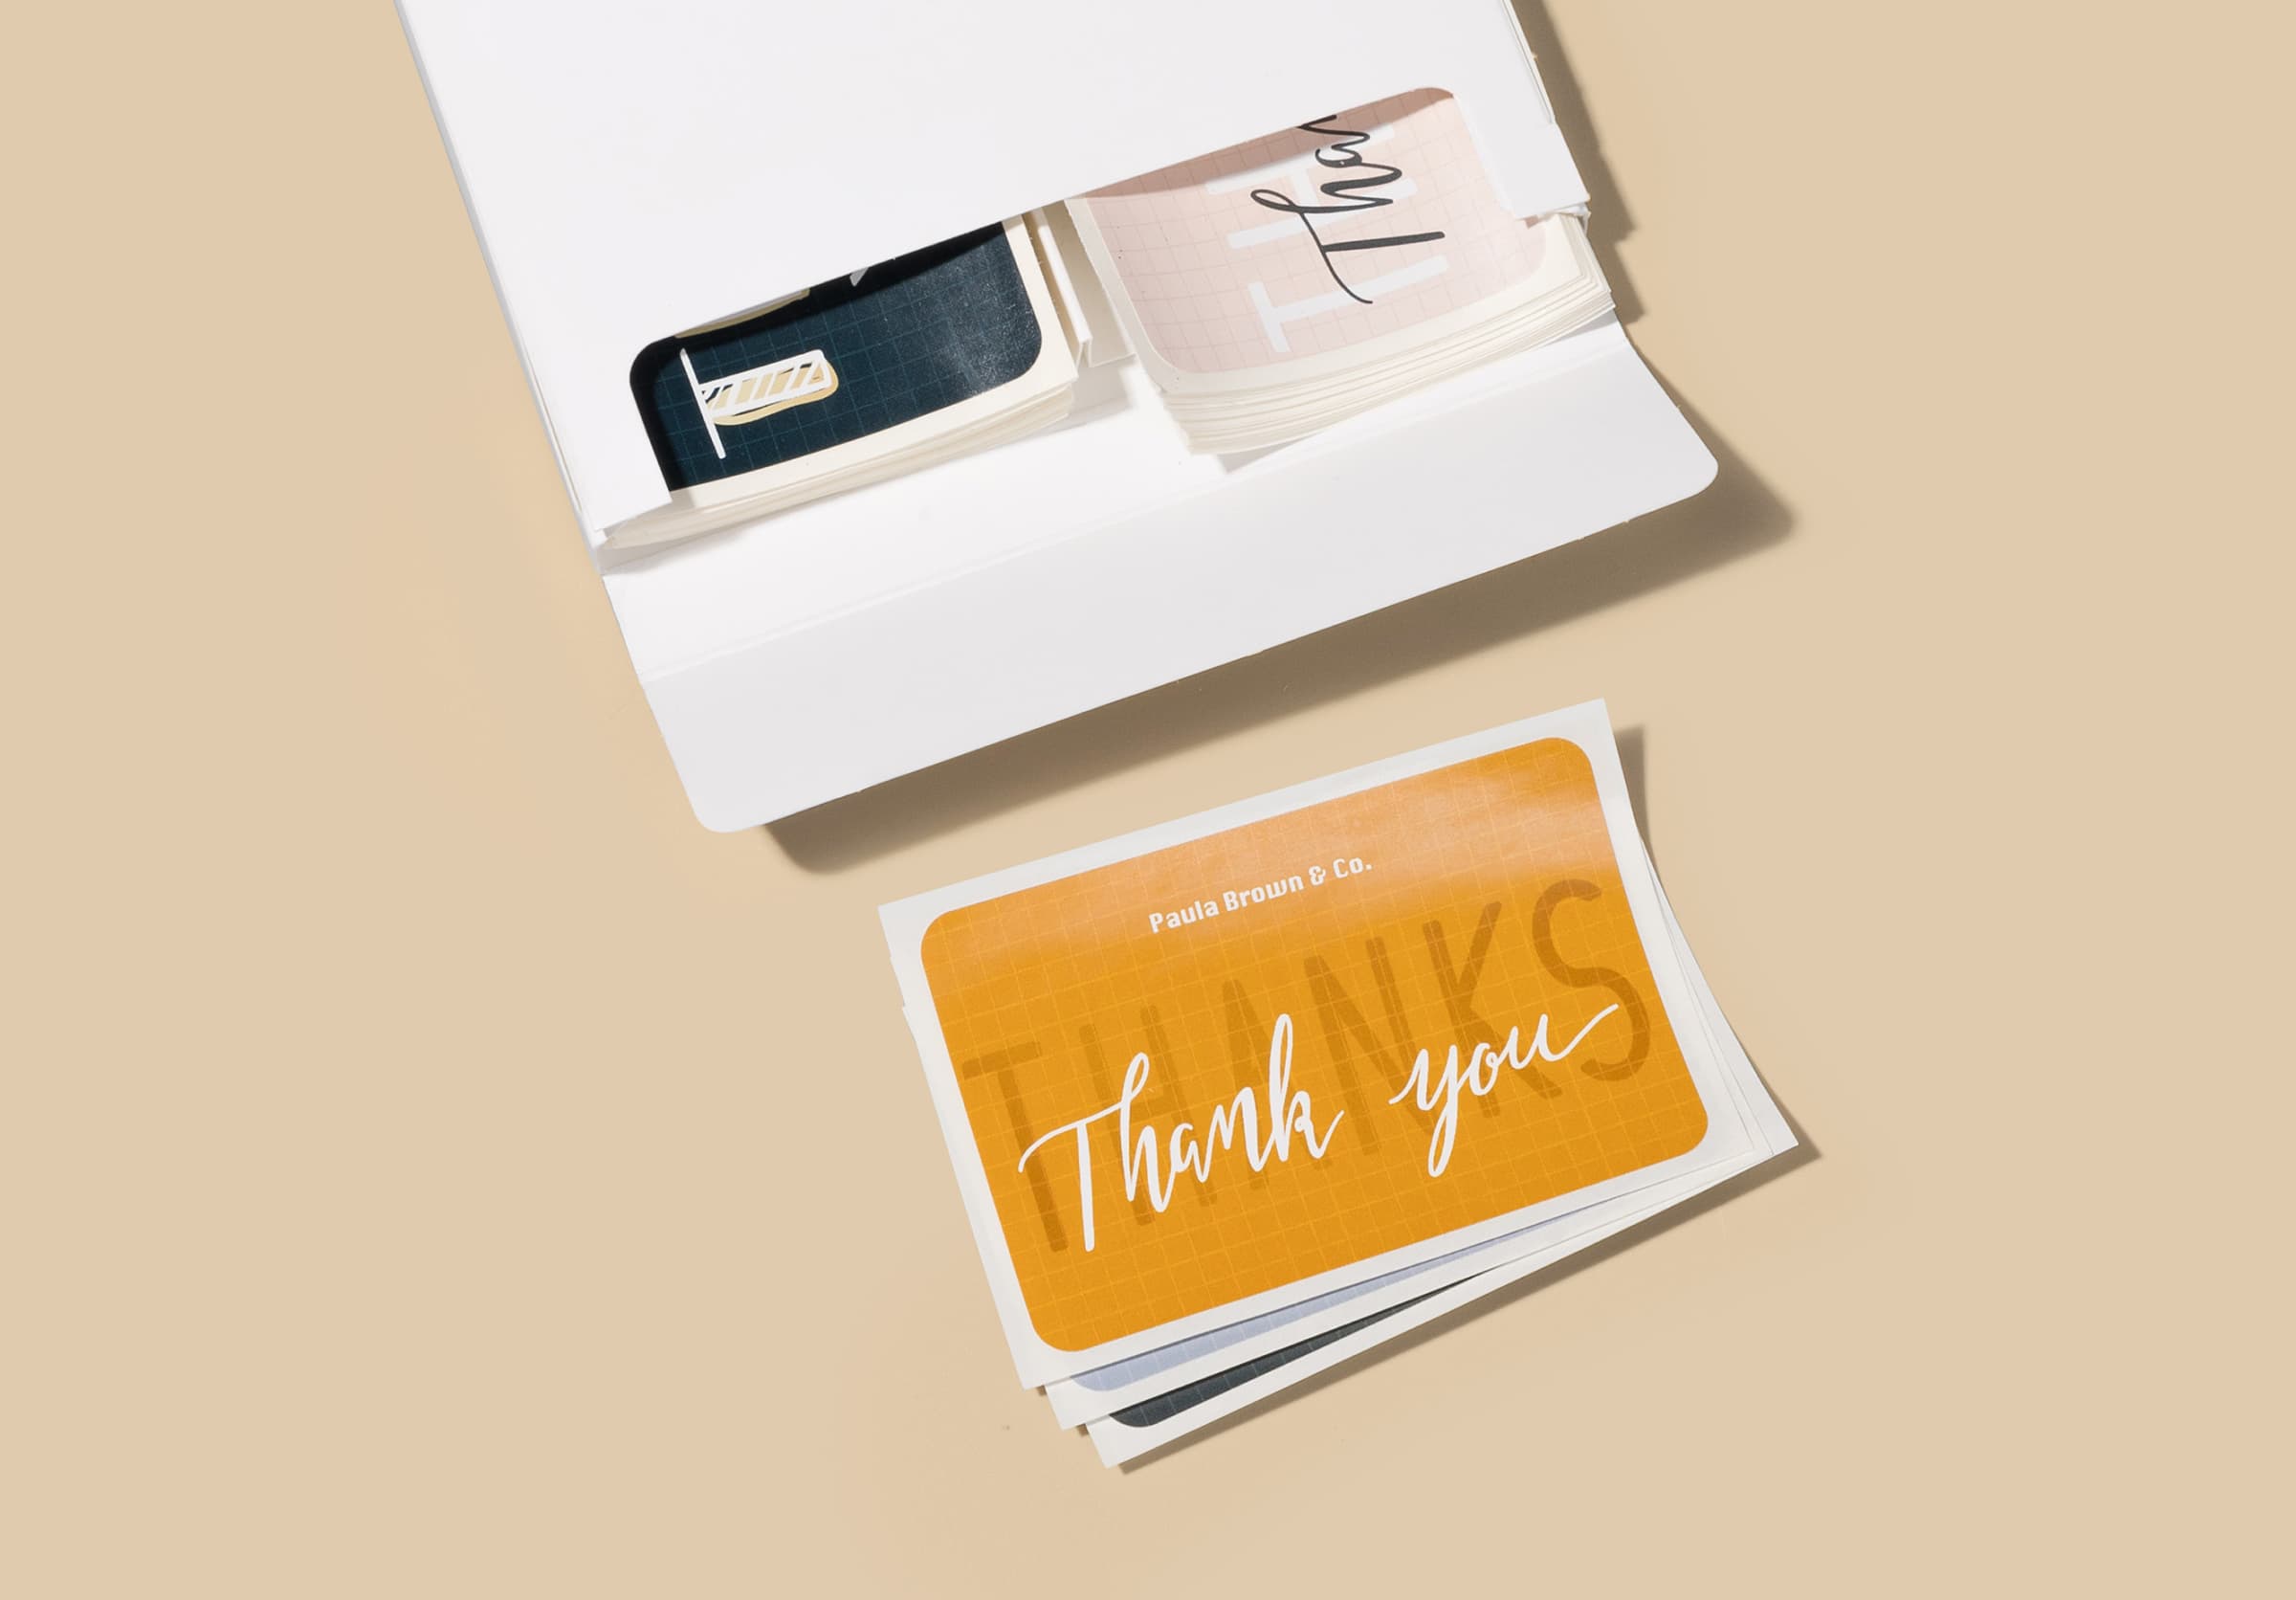
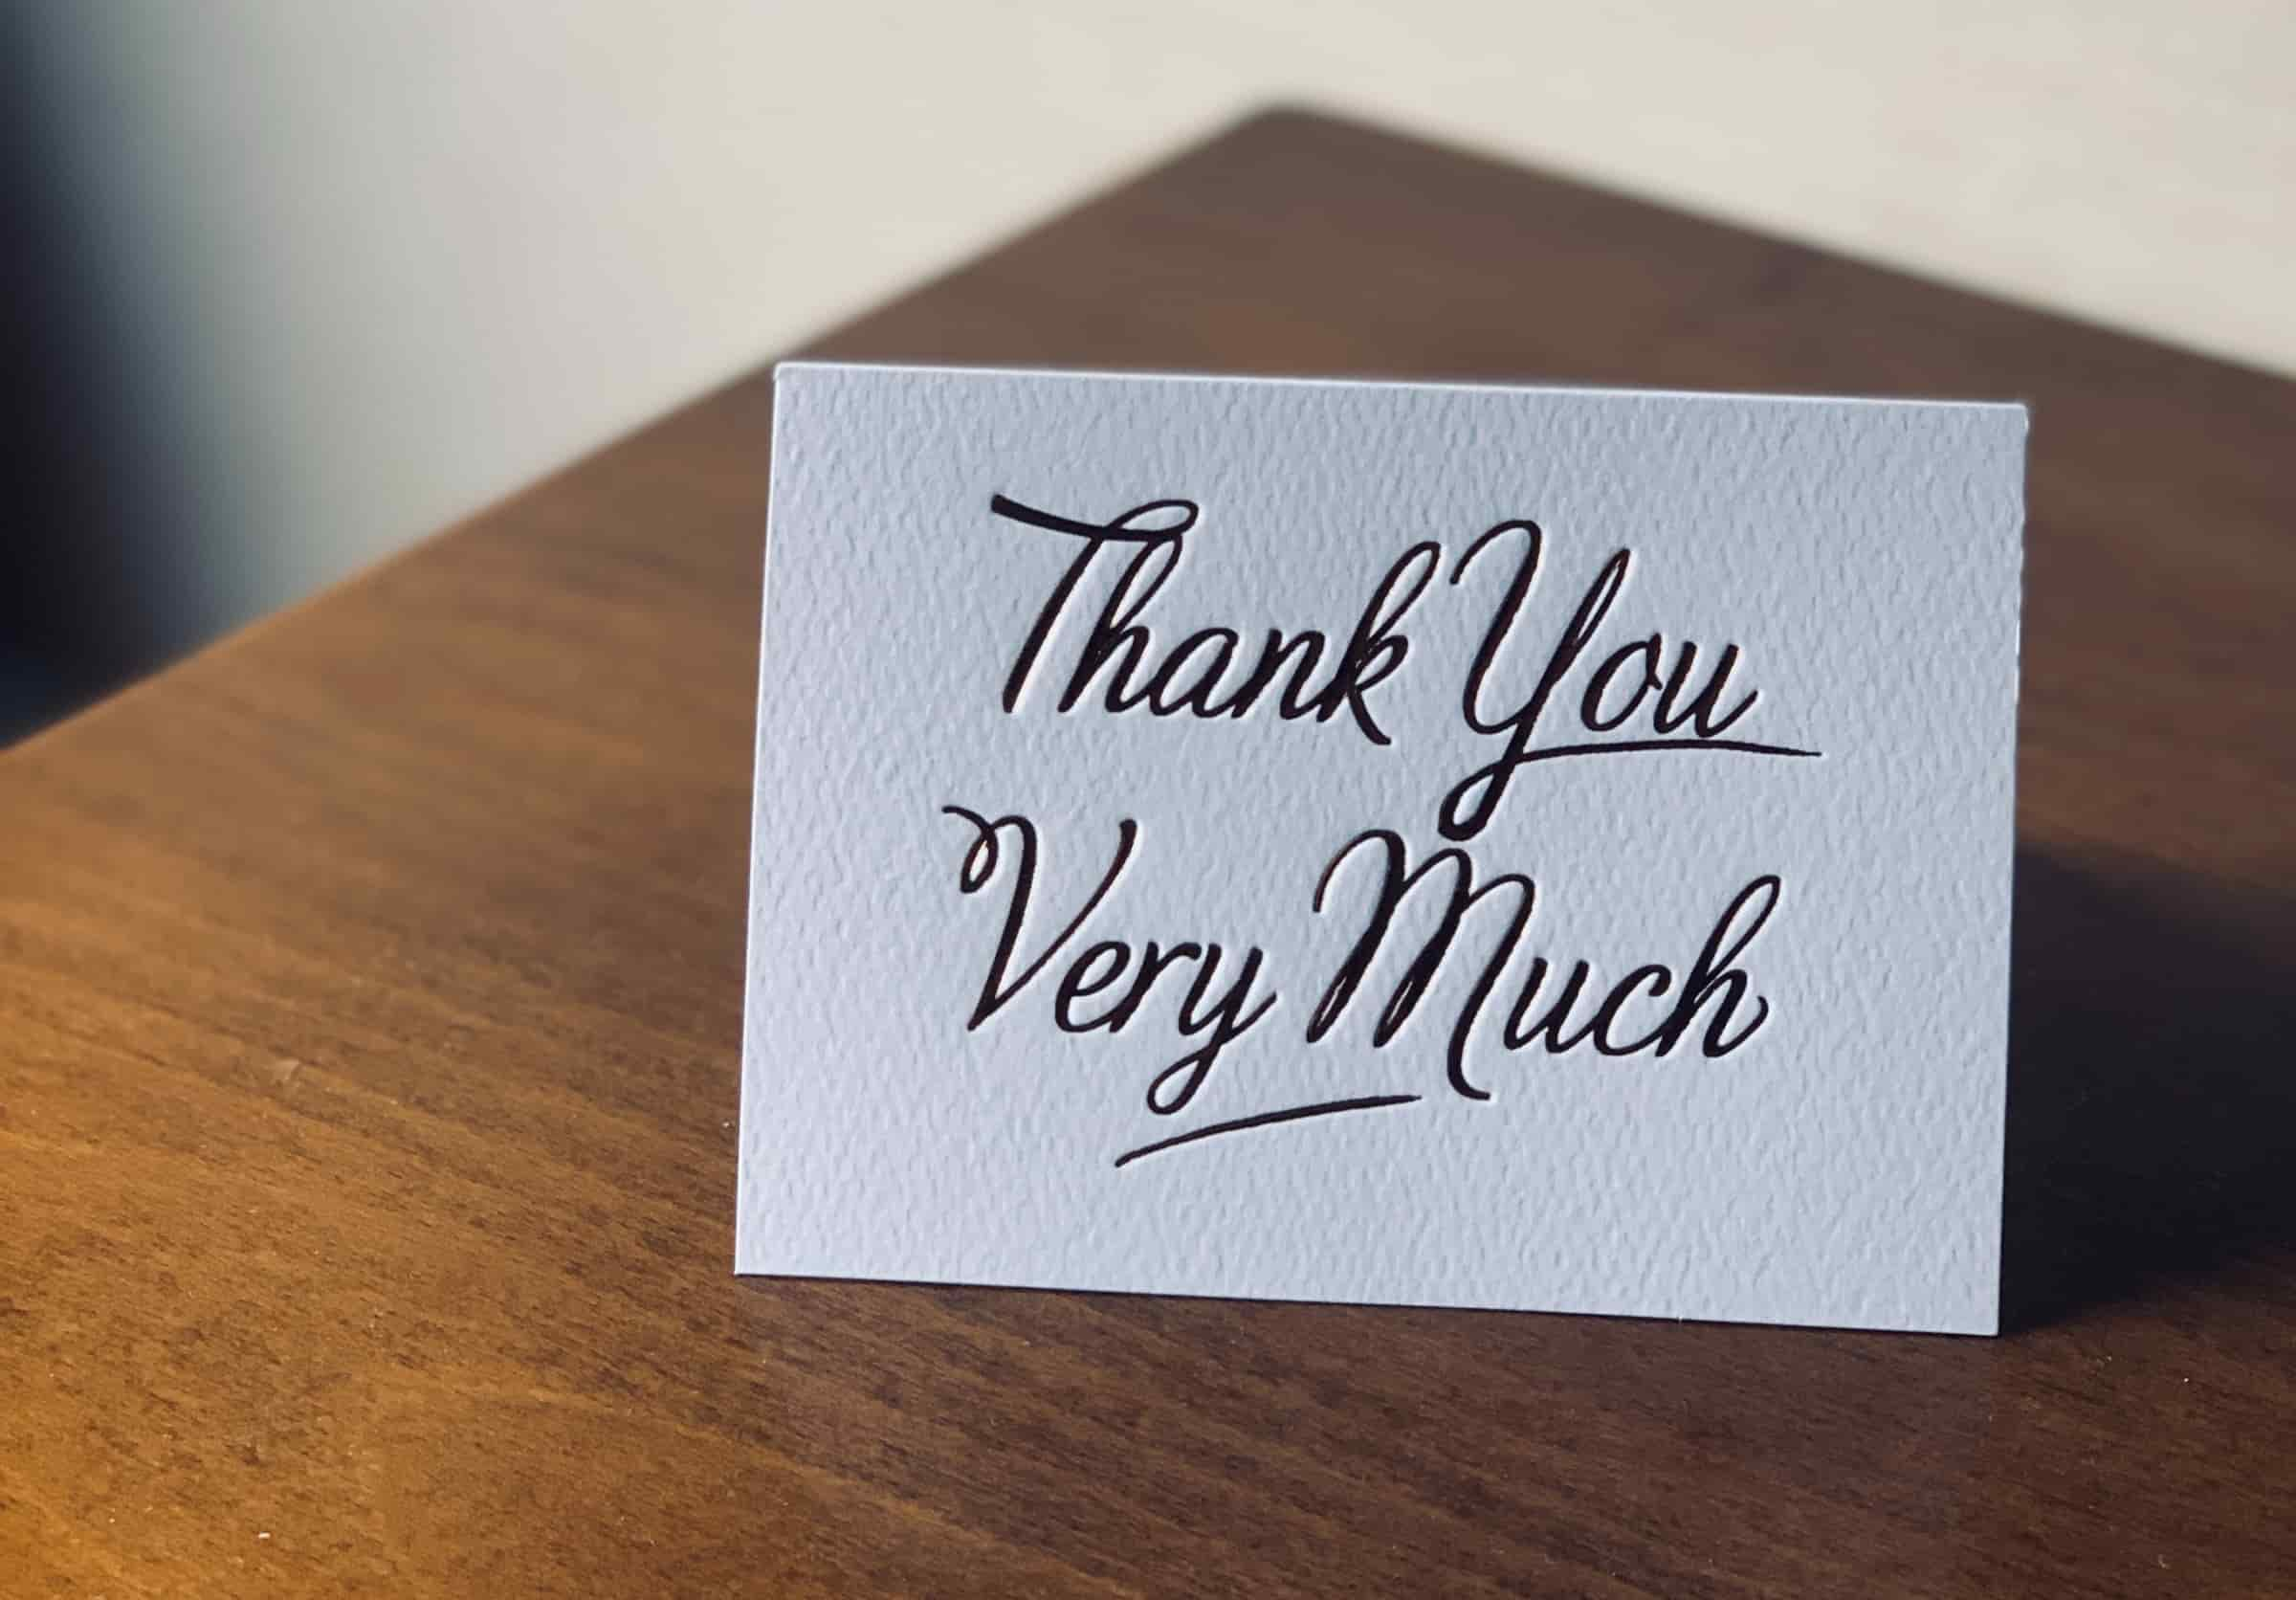
But if you wish to get a bit extra fancy to distinguish yourself from competitors, online sticker shops are known to create fun packaging to accompany their stickers. Consider handwritten thank-you cards, branded stickers or other custom inserts for extra flare.
Source: Unsplash
Cuts and Types of Stickers You Can Make
First, you must decide on the type of sticker you want to make before you can look into posting them online. For this, there are two main cuts for stickers: die-cut and kiss-cut.
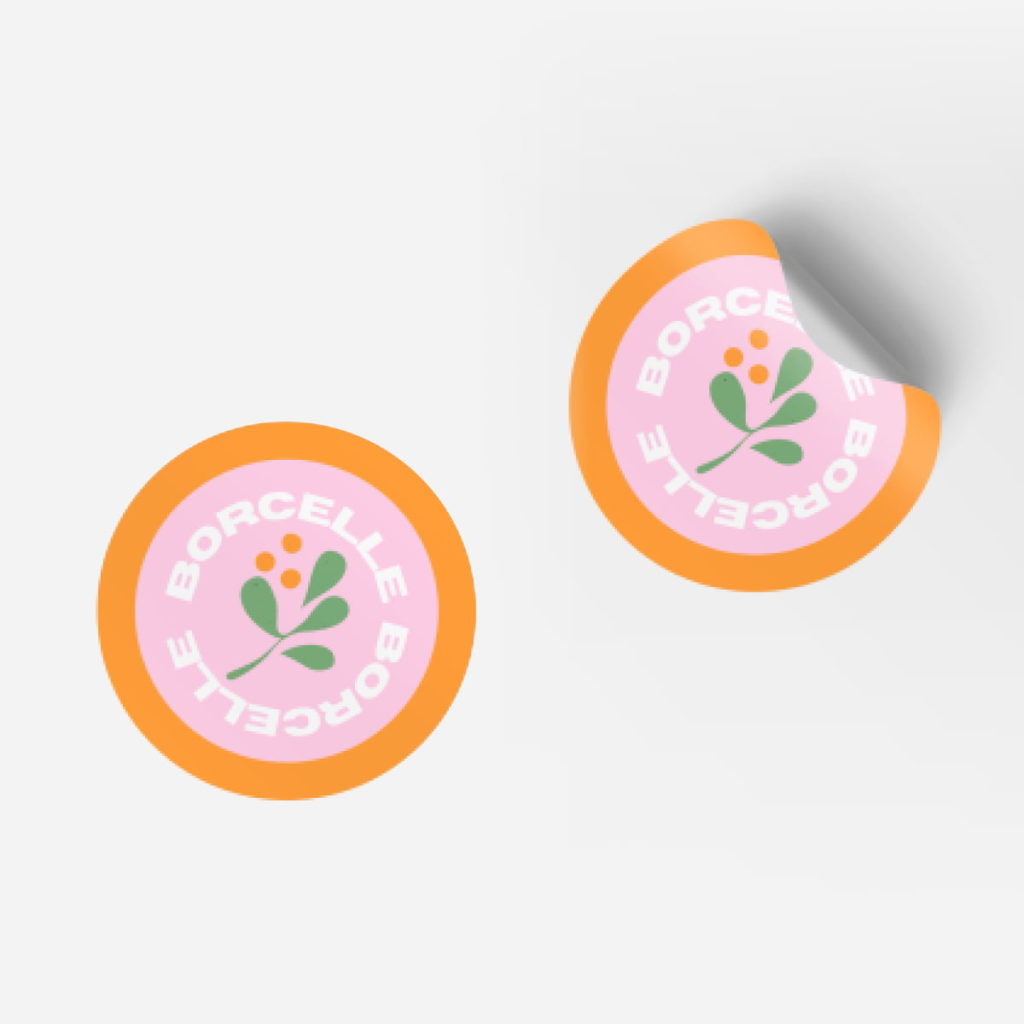
Die-cut stickers conform to the exact shape of a sticker. This can be as simple as a circle or as intricate as the shape of a leaf on a tree. With this method, the sticker and the backing paper are cut to the shape of the actual sticker.
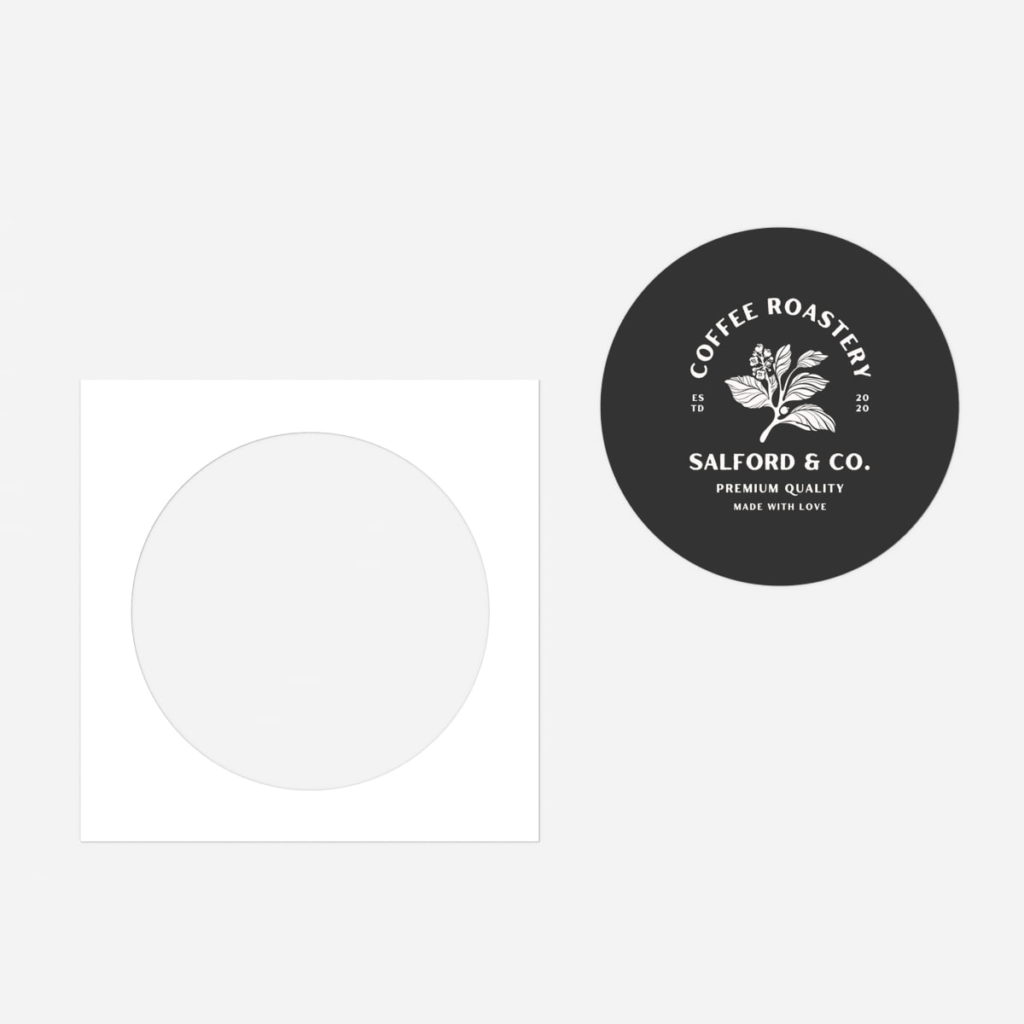
Kiss-cut stickers are when the cut is made only on the sticker layer. When the sticker is removed, the backing paper remains, allowing for sheets of stickers with multiple designs.
Sticker Materials and Finishes
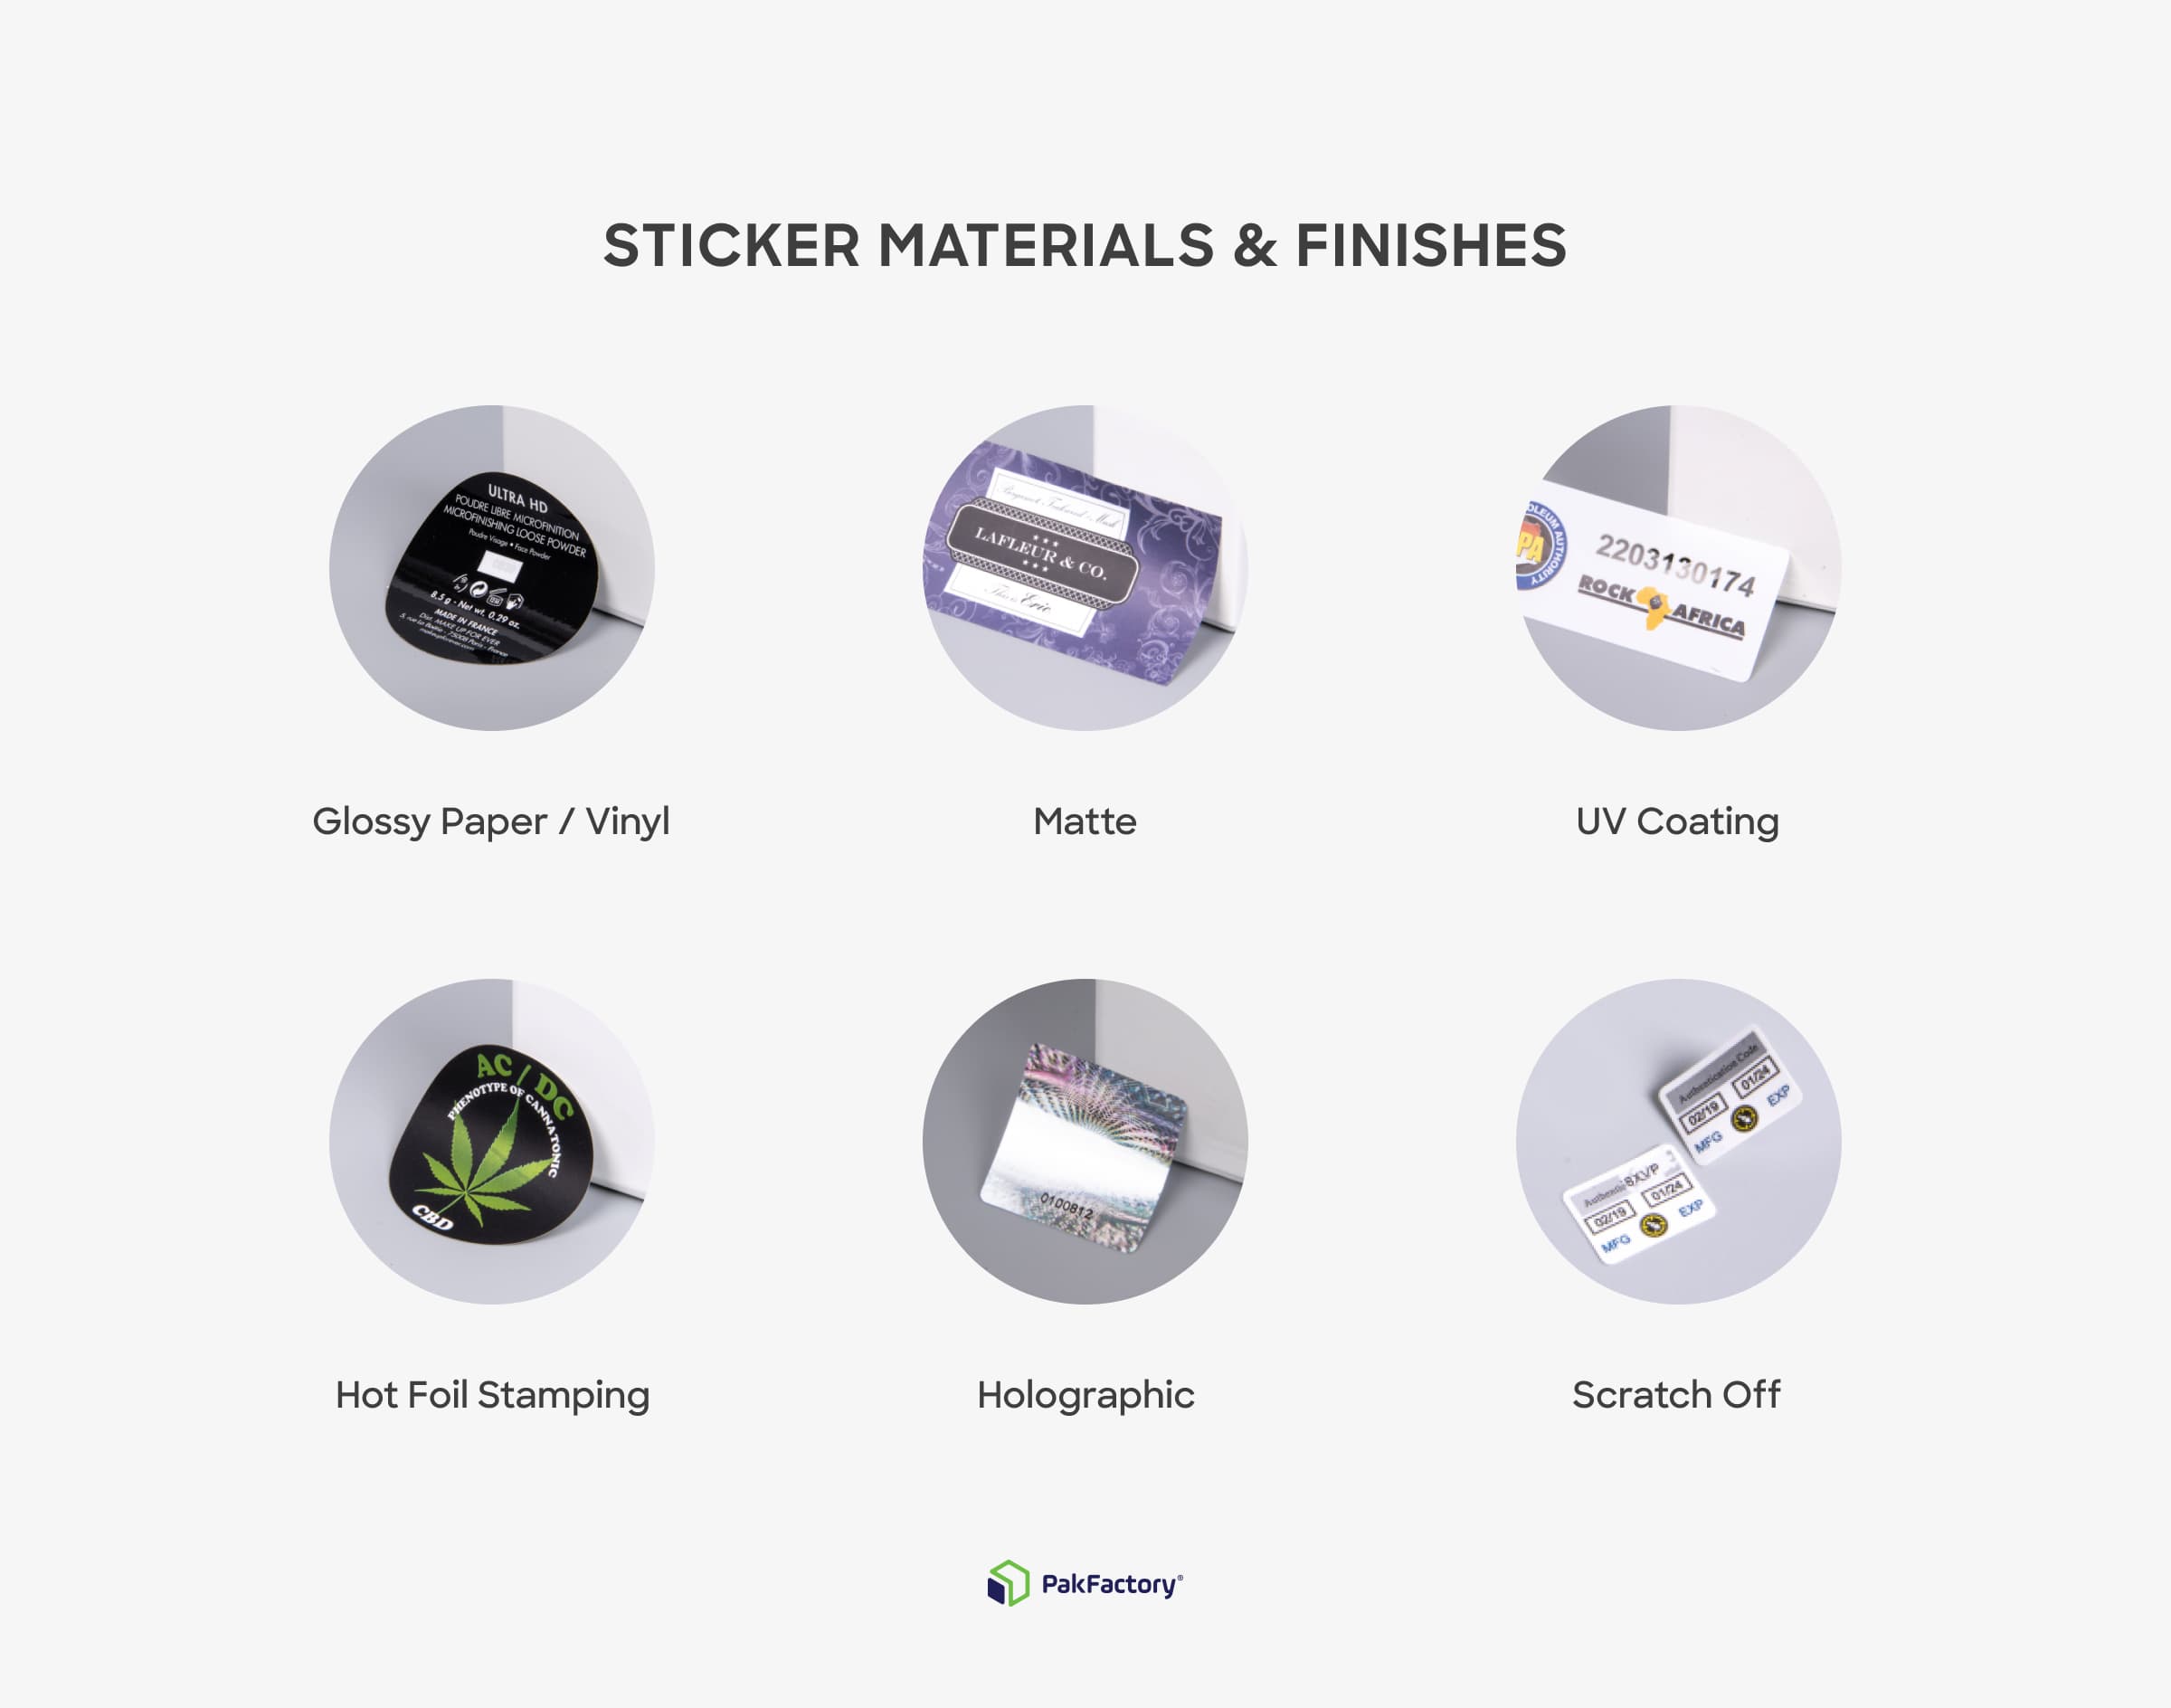
Alongside the different cuts you can have for your sticker design, stickers can also have different looks and feel depending on what they are printed on. Matte, for example, may highlight finer details, while holographic may make work better with bolder designs. Below are some popular choices:
- Glossy Paper or Vinyl
- Matte
- UV Coating
- Hot Foil Stamping
- Holographic
- Scratch Off
We recommend experimenting with different finishes to find the best one that suits your sticker design.
A Sticker for All Occasions
Making sticker designs are a great way to showcase your creativity, personality and artistry while being an excellent product to sell online. Stickers are versatile for all industries, genres and styles and work not only for indie artists and small businesses but for larger businesses too.
So if you want to begin making custom stickers to sell online, look no further than PakFactory. To start your journey today, speak with one of our professional packaging specialists for more information on custom stickers and labels!


