Table of Contents
Once you’ve settled on your packaging, getting it printed is the next step, and it can be incredibly exciting!
You’ve dedicated time to designing the perfect packaging for your brand, and it’s time to see it and make sure that it’s exactly what you wanted.
You’ll find that the design process is often peppered with terms such as vector and raster that you may not quite understand.
We’ll break down some key terms and crucial things to know during the design and printing process.
We’ll first look at some important terms you’ll need to remember throughout the process.
You’ll often come across the terms ‘pixel’ and ‘bitmap’ in the design process. Here’s what they refer to:
Pixel: A pixel is the smallest element of an image on a screen. Images on screens are essentially made up of small squares containing different color codes.
Bitmap: A bitmap is made up of pixels in a grid formation, and collectively makes up an image or picture.
Now that we’ve established some key terms, we’ll look at what a Vector image is.
What is Raster?
Raster graphics or bitmap images are digital images consisting of tiny rectangular dots/pixels in a grid formation to represent an image.
Raster images are commonly made from photo scans or digital camera captures and are best suited for non-line art images.
A higher number of pixels means a higher quality image. Lower pixel counts are obvious when zooming into the image. You’re able to clearly see each pixel resulting in low quality
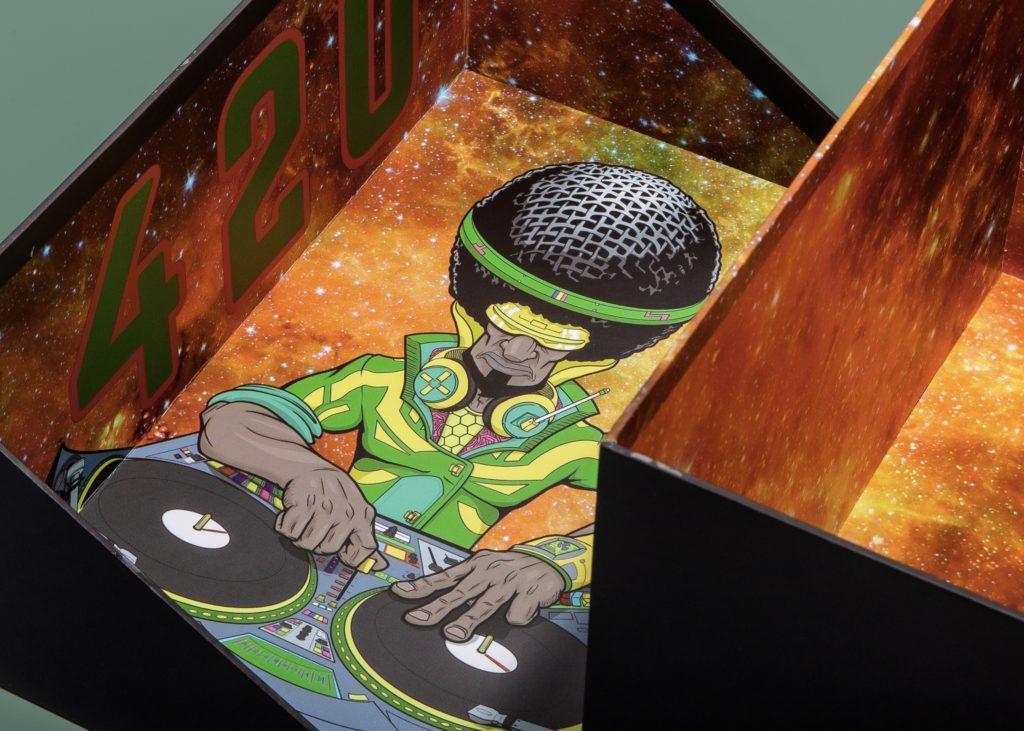
One advantage of raster images is their ability to show subtle color gradations and complex compositions.
Using Raster images
Raster images are most commonly found in photography and digital tools, and to make any edits or changes, you’ll need a raster-based program such as Adobe Photoshop.
Raster images work best for photography and imagery rather than design work because they cannot be scaled the way vector images can and often become distorted when blown up into massive dimensions.
While raster images are effective for photography, it is not as effective for designing logos for example as the sizing capabilities are limited to your pixel count.
File Formats
You can save raster files in the following formats:
- .tiff (Tagged Image File Format)
- .psd (Adobe Photoshop Document)
- .pdf (Portable Document Format)
- .jpg (Joint Photographics Expert Group)
- .png (Portable Network Graphic)
- .gif (Graphics Interchange Format)
- .bmp (Bitmap Image File)
Although the image files will all display pixels, the display settings will vary across file sizes.
Higher-quality images will render better but also take up far more storage space. A smaller file will be easier for storage but could be lower-quality.
So once you get an idea of what vectors and rasters are, which one should you choose for your packaging?
What is Vector?
A Vector image is more of a specialized image, and it can only be created on certain design software such as Adobe Illustrator.
Vector graphics consist of paths that define geometric shapes to create an image. They don’t lose image quality when scaling or editing, allowing for more flexibility.
The good news is; Vectors can be easily converted to raster if required.
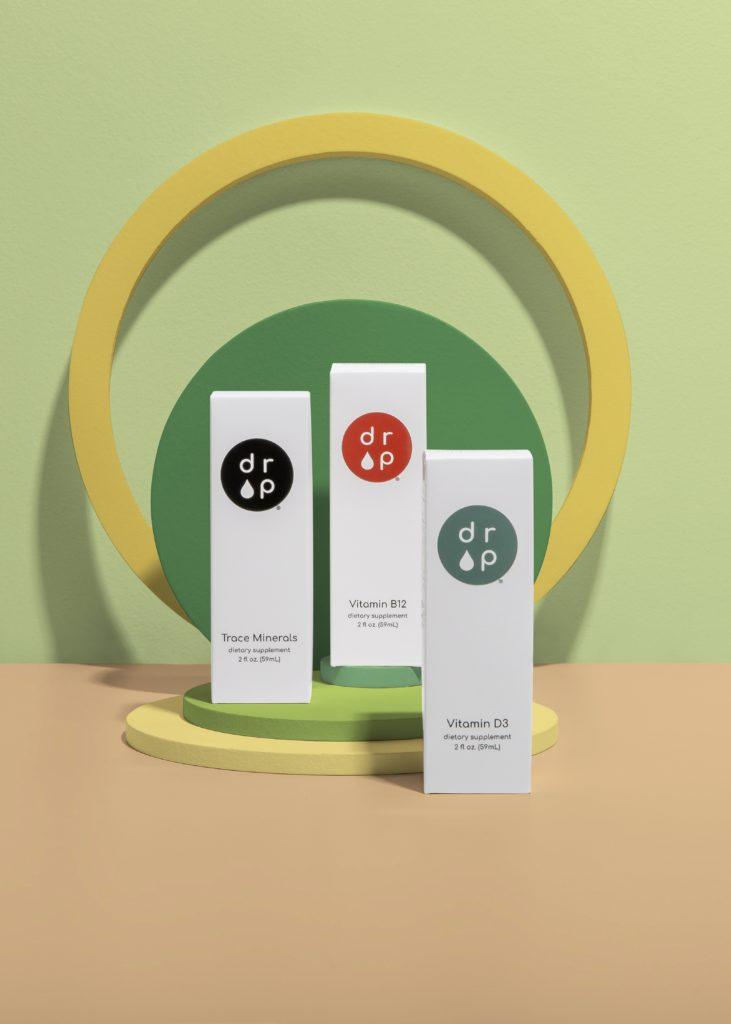
Vector images remain smooth no matter how large it is sized, unlike raster images. They are also useful when working with file size limitations during the design process.
The one drawback is that you can only access and manipulate vector images with specific software; you cannot open them on other softwares unless converted to a raster file.
Using Vector images
Vector images are best created in programs such as Adobe Illustrator and Sketch.
Photoshop is not the right choice, as that program is mainly for raster images.
Vector files are best for design work such as logos and icons since there is a lot of detail to incorporate, and they may need to be in different sizes without losing quality when used for branding products, websites and more.
File Formats
You can use the following formats for vector files.
- .ai (Adobe Illustrator document)
- .eps (Encapsulated PostScript)
- .svg (Scalable Vector Graphic)
- .pdf (Portable Document Format; only when saved from vector programs)
Which is Best for Packaging?
Deciding what option to pick will be primarily based on your branding and what you are trying to display on your packaging.
If you are using geometric shapes and elements, vector images will be better.
The images will be high-quality, and you can manipulate the image in different ways to fit different dielines without sacrificing quality.
Luckily, you don’t always have to start from scratch with vector images.
If you have rasterized graphics that can be vectorized, programs such as Adobe Illustrator can be used to recreate them.
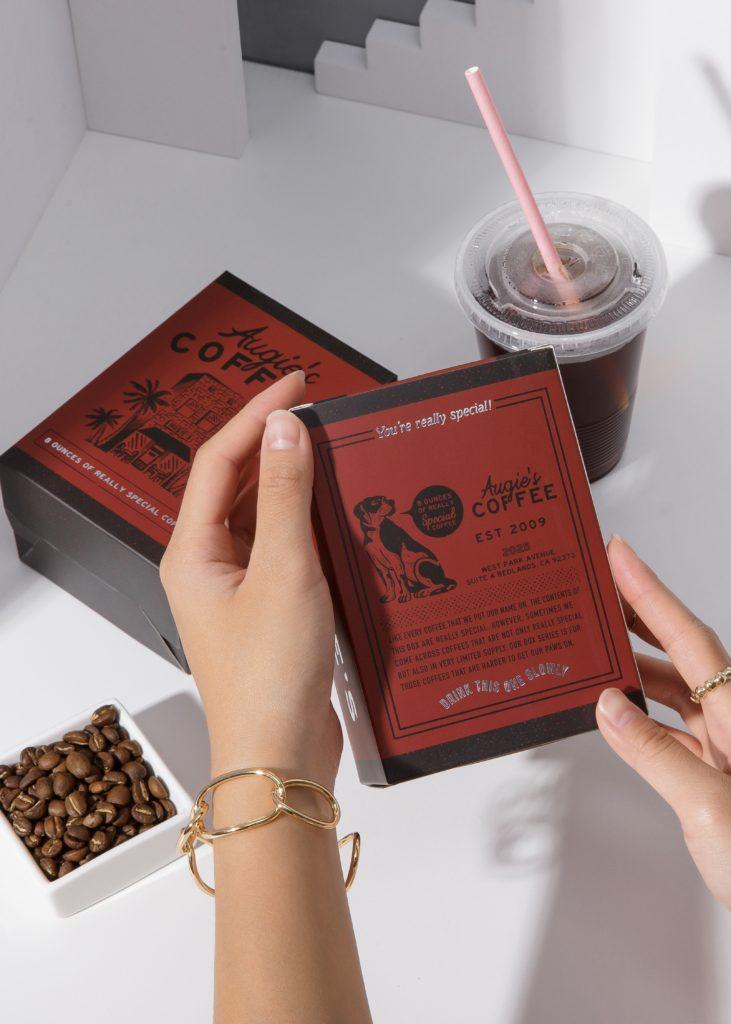
However, this only works if your image has distinct mathematical lines, shapes, and curves.
It cannot be done for images where there is no distinct shape, such as photography.
Raster images are better for images such as photographs and ‘real-life’ images that pixels can recreate.
For example, if you want product photos on the packaging or other imagery, raster will be the best option since it prints in high quality if your pixel count remains high.
It’s best to use raster images in their original size, and you can go up or down a little bit.
You should not drastically alter the size of the images, as that will lead to a lower-quality image.
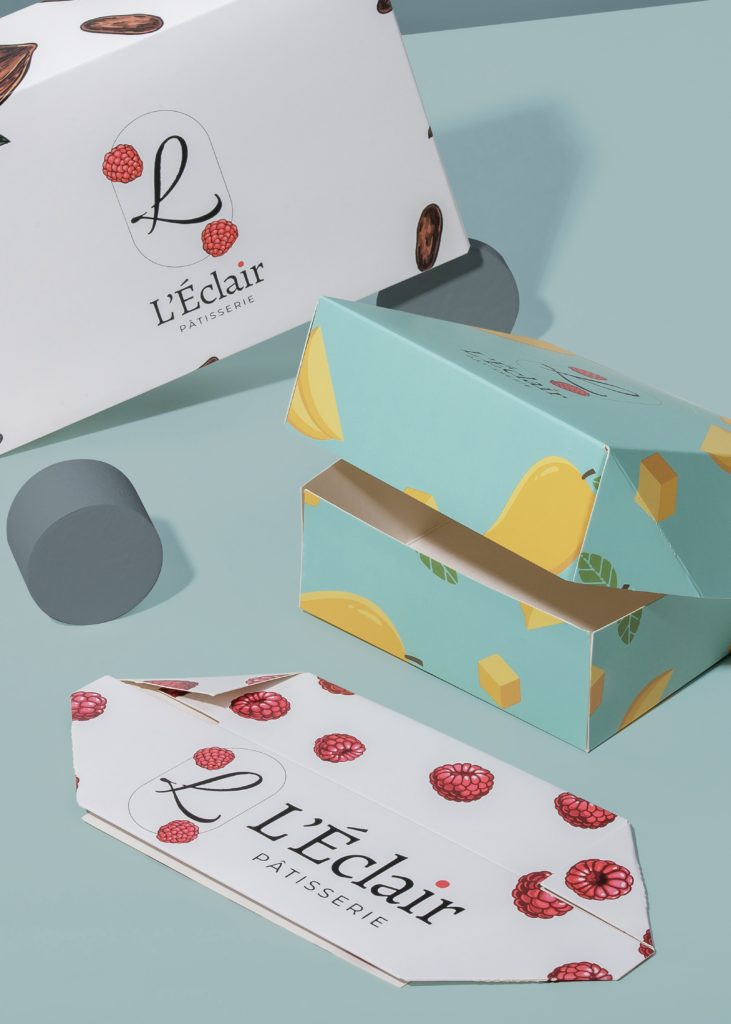
Once you’ve decided what type of image to use, there are certain requirements that you’ll need to consider.
Requirements for Printing on Packaging
The quality of the printing will differ based on the resolution you choose.
1. 300 DPI
Using a high-resolution of 300 DPI will ensure that you get the best quality for printing.
For any pictures or graphics below 300 DPI, you might not get the best quality when you print, and the image will not be as crisp.
If you don’t know what kind of resolution your image has, you can right-click and view the properties on your computer to check.
2. CMYK Color Model
Colors are an essential part of your branding, so to get them exactly right, you can use the CMYK color model.
When printing your packaging, ensure that the designs are converted from RGB to CMYK to maintain the printing quality and color sharpness.
Learn more about CMYK.
3. Request a Box Sample
After you’ve decided on your packaging, it’s crucial to get a box sample to see what it looks like in real life!
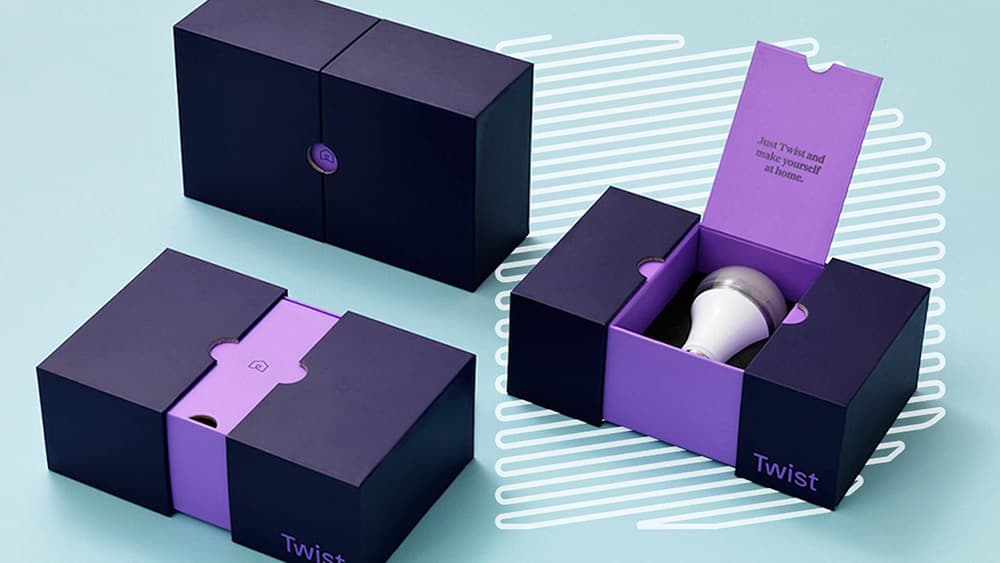
Getting an up close look allows you to inspect the packaging and spot any flaws that can be fixed before higher quantities are printed out!
Once you get the hang of the image files and requirements, you’ll see that it’s pretty easy, and you’re able to get consistent packaging every time that looks exactly how you wanted!
If you’d like to learn more about raster vs. vector or understand how to get your perfect packaging from design to print, our product specialists at PakFactory are happy to help!
