Table of Contents
One of the main processes you need to get right at the start of any packaging project is your box dieline. Dielines are templates that ensure your final packaging designs are accurate and meet your quality expectations.
When using custom packaging, the prepress printing process needs as much attention as the design. This process is vital in determining the overall look and feel of your packaging, so getting this part right and having a standard procedure in place is imperative.
In this article, we’ll take you through the steps of correctly making dielines for prepress, but before we jump into our step-by-step guide, let’s take a moment to understand the basics.
What is a Dieline?
Dielines can be created by graphic designers, die cutters, or a printer and are abundantly used to produce many types of packaging. They are vector files and essentially the blueprint of your finished packaging. They act as a guide when making cuts, scores, and indentations in the die-cutting process to construct your packaging. Dielines include:
- Packaging size, scale and dimensions
- Location of visual elements
- Placement of creases, cutlines, tabs, folds, and other connection points
- Manufacturing notes
- Bleed requirements
Knowing that dielines are the blueprint for your final package is enough to understand their importance, but if you would like to learn more about what a dieline is in packaging, we have an in-depth explanation here.
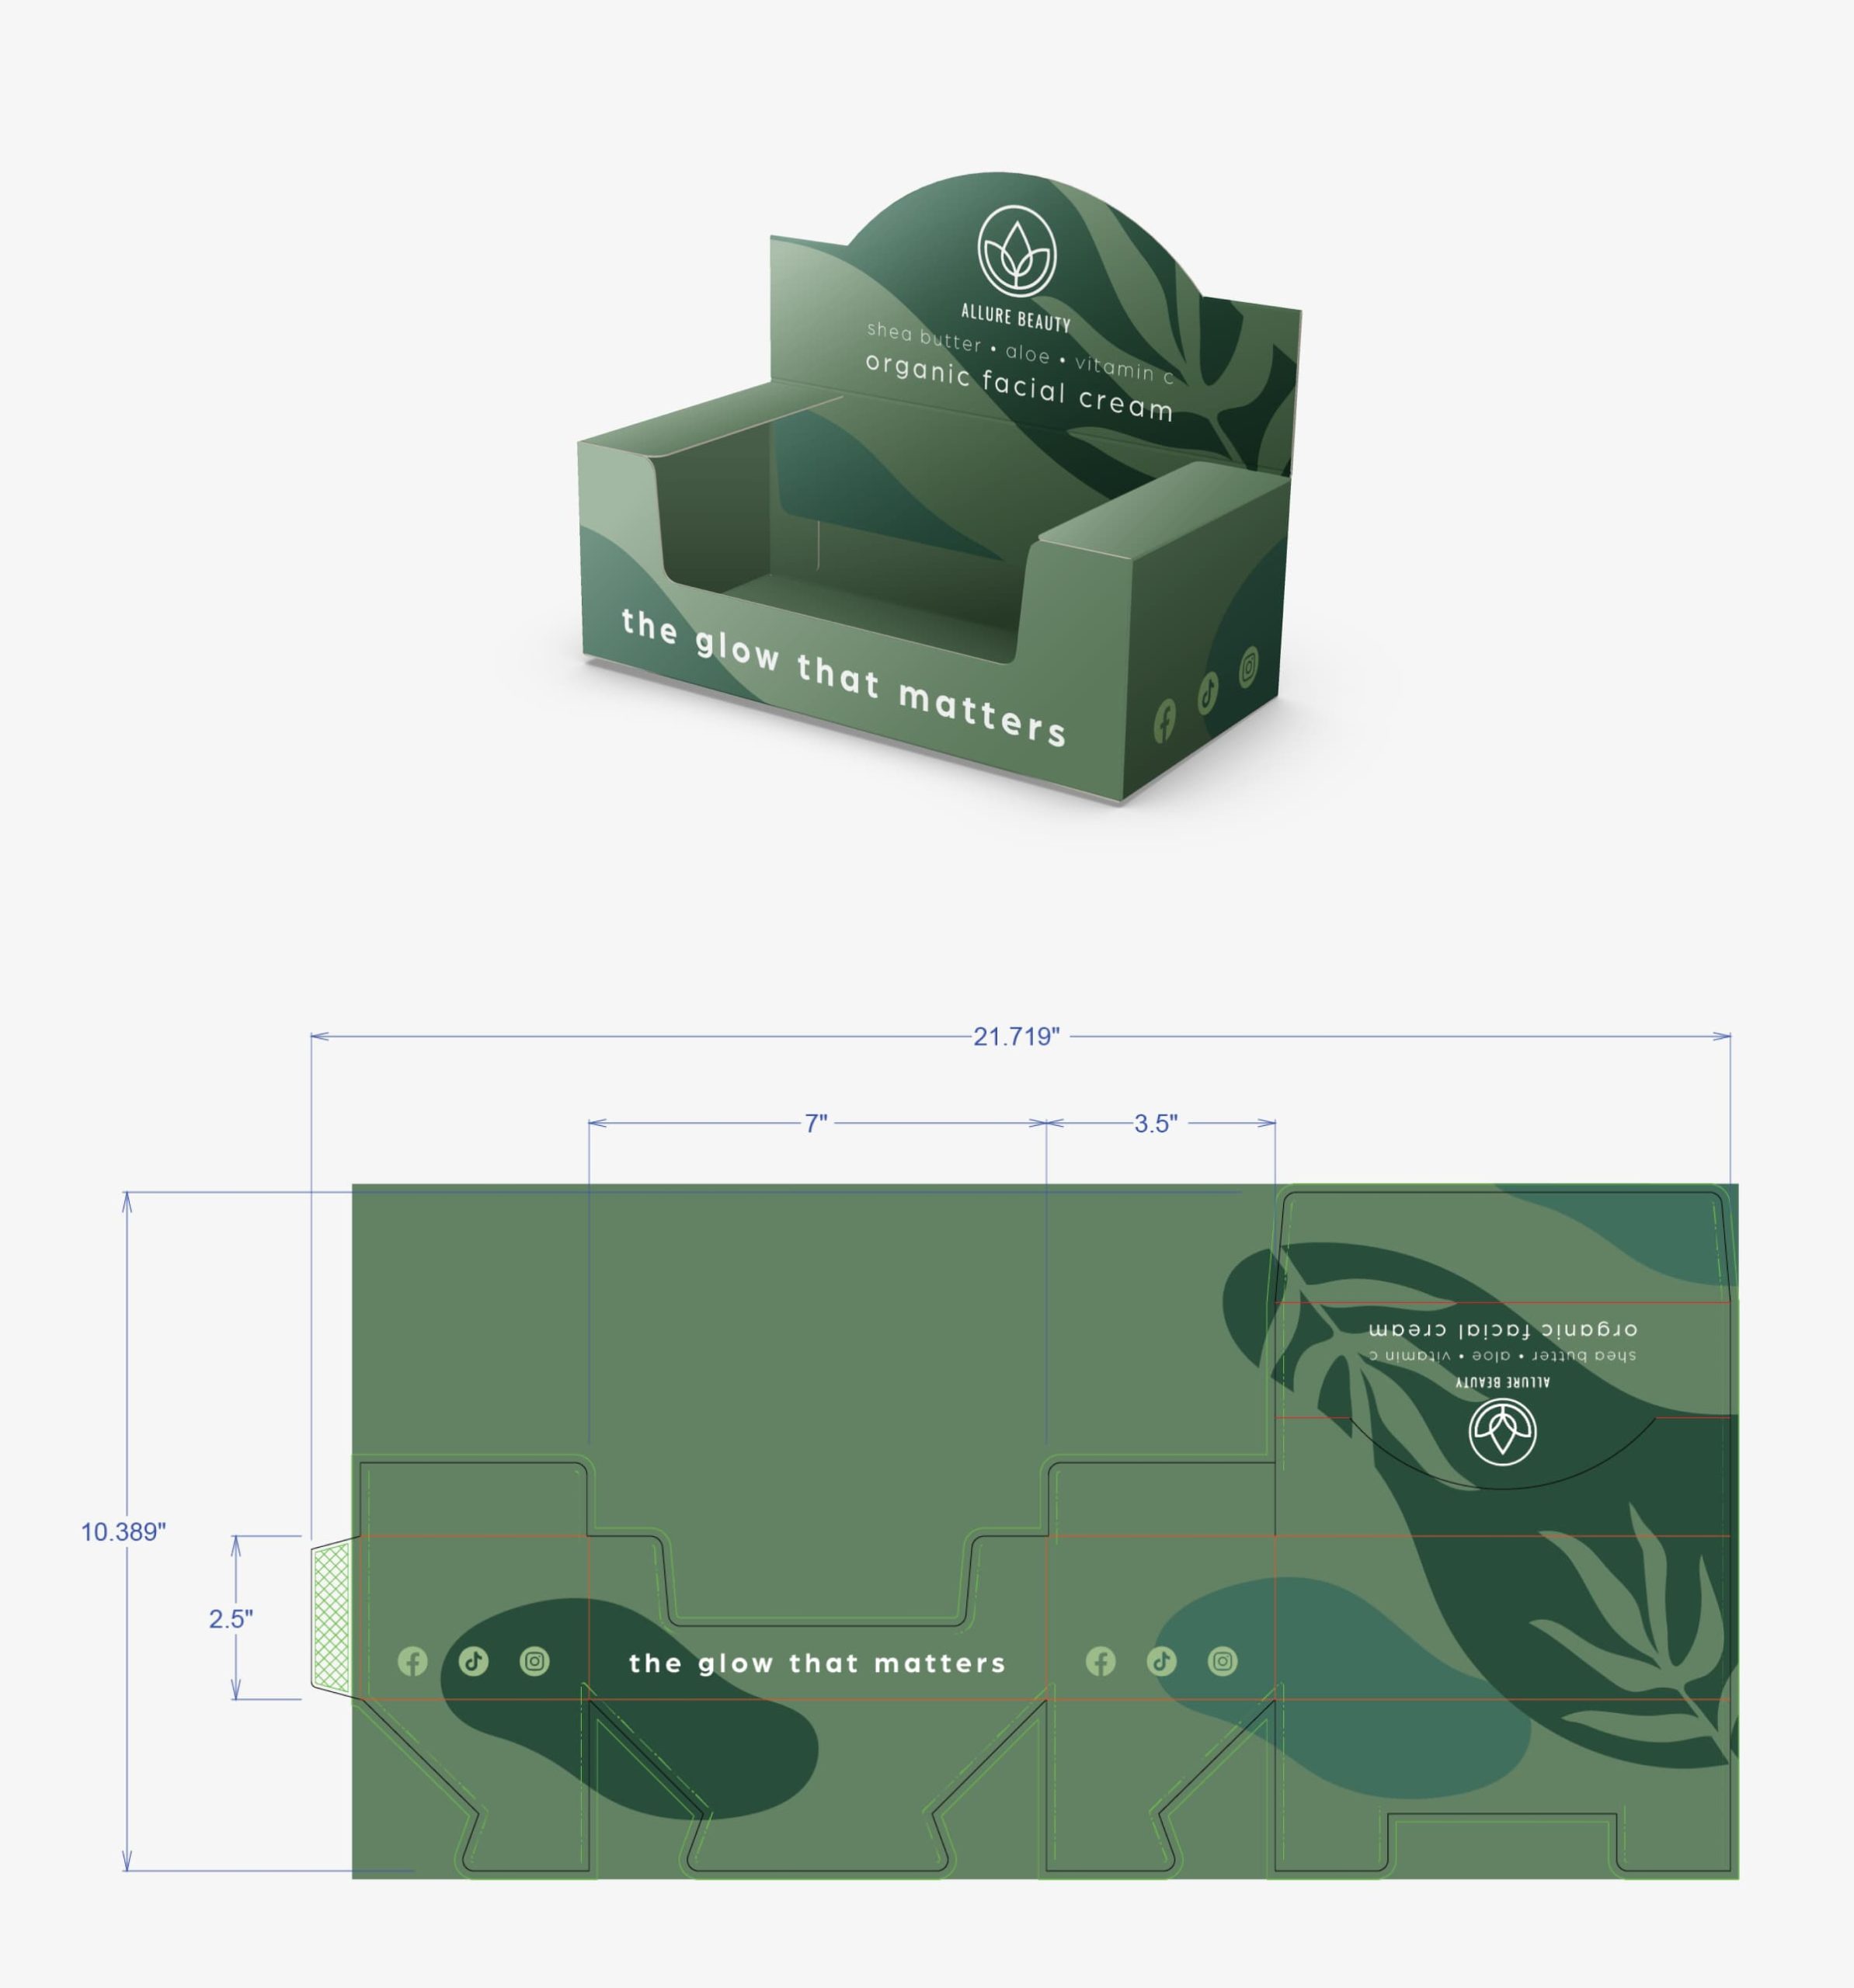
Source: PakFactory
But now that you better understand what a dieline is let’s dive into the step-by-step guide to preparing your dielines for prepress and print!
Considerations Before Preparing a Dieline
Before creating packaging dielines, there are a few essential things for you to consider.
Size
The first thing you need to determine is how big you need the packaging for your product. Ideally, your packaging should be the minimum size your product needs to sit comfortably inside.
Dielines are usually printed on sheets that fit industry standards, so make sure you are not opting for astronomically large packaging sizes, as printers may not accommodate the larger sheets required for the die-cutting process on oversized projects.
Weight
The weight of your product also needs to be considered. Heavier products may require thicker stock like corrugated cardboard to hold and protect products adequately, which affects the type of dieline you require.
The Purpose
Finally, the purpose of your packaging needs consideration as it will affect how your box dieline will look. Are you an e-commerce business that relies on shipping your products? Or are you a retail business that needs to create a strong shelf impact in-store?
For example, e-commerce businesses will likely choose thicker card stock like corrugated paperboard to protect products in transit. As an e-commerce business, It’s important to consider how your packaging will arrive at your customers’ locations, so its dielines may include some additional flaps or tabs to account for extra cushioning when constructed.
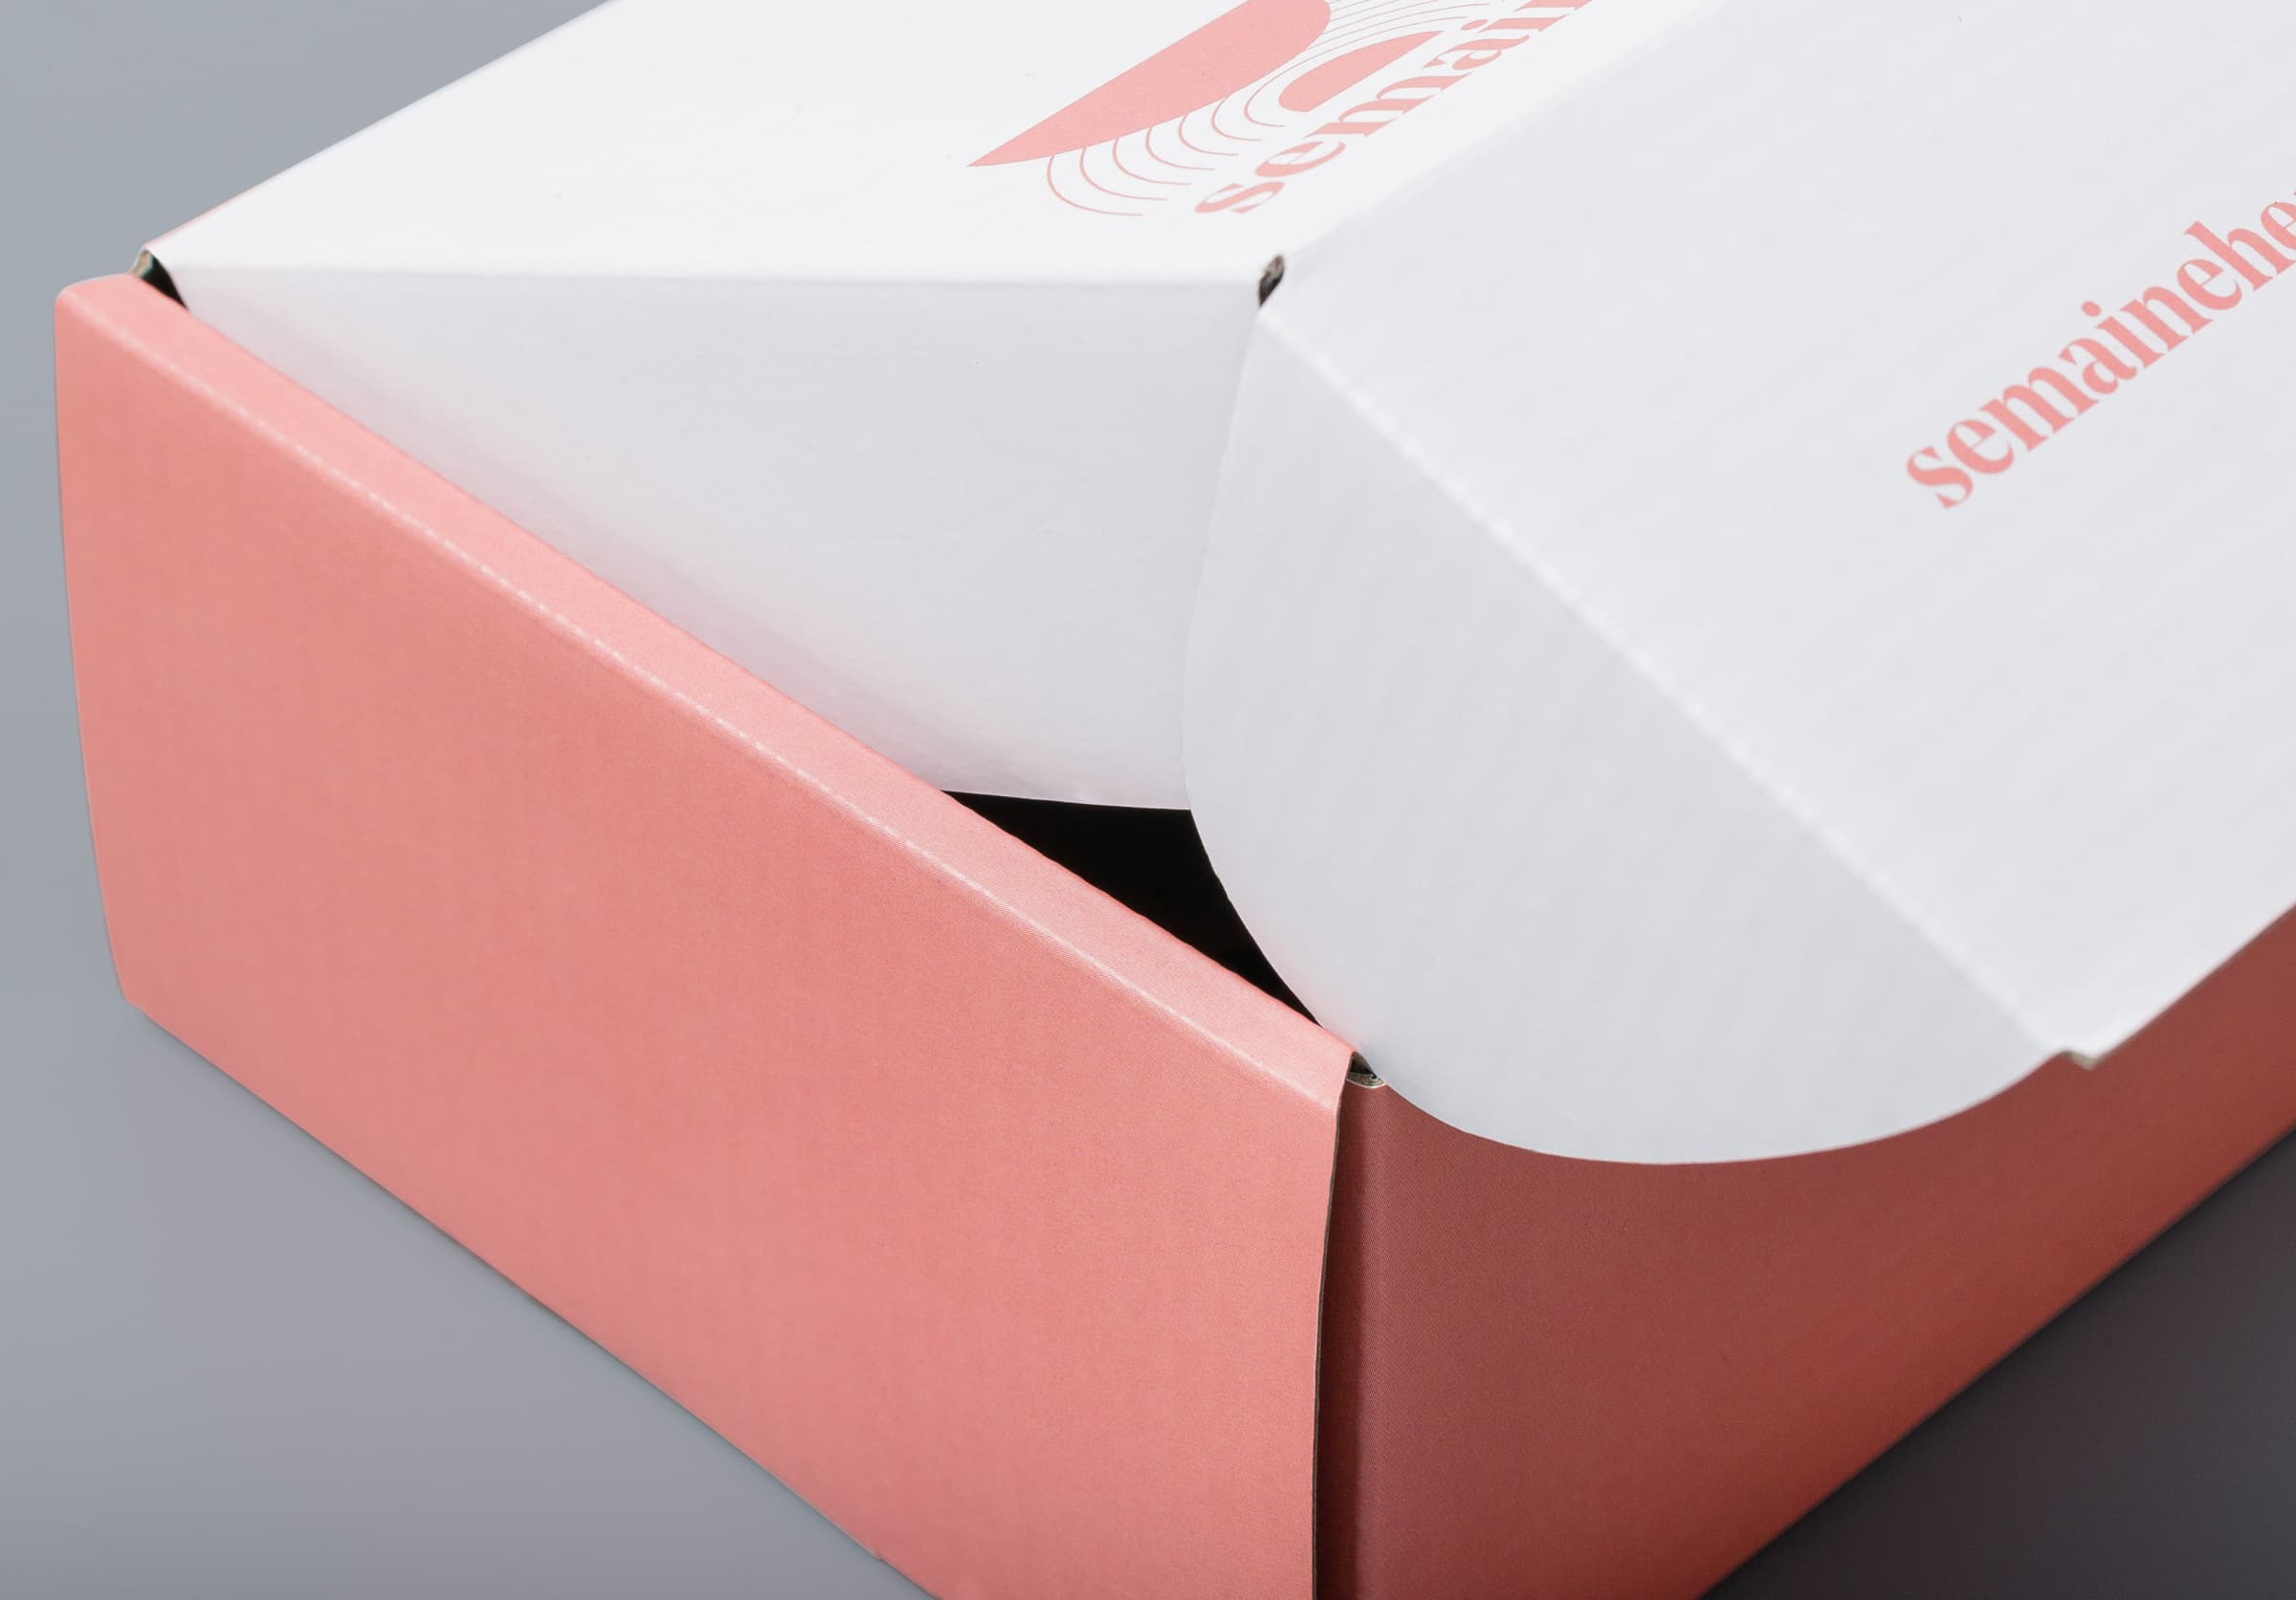
Source: PakFactory
On the other hand, retail businesses are likely to choose folding cartons or rigid boxes for packaging lighter-weight products, meaning the dieline may feature fewer flaps and tabs.
Understanding how your packaging will serve your industry gives you a better idea of what to expect when making your dielines. But now that you have the details set, it’s time to translate that into a blueprint the printer and die-cutting machine can understand.
Creating A Dieline Template
When creating a box dieline, many technical details must be kept in mind, making it challenging to understand. Custom packaging companies or manufacturers usually provide their own dieline templates to ensure the structural design of your packaging works. This way, all you have to do is position your artwork and logos to ensure the colors match for printing.
To better understand how to do this, we’ve provided a free dieline template for your usage:
To place your artwork design onto the dieline, you’ll need Adobe Illustrator to open the file, which, as mentioned earlier, should be a vector file. The dieline will also feature several differently colored lines correlating to instructions for the die-cutting machine.
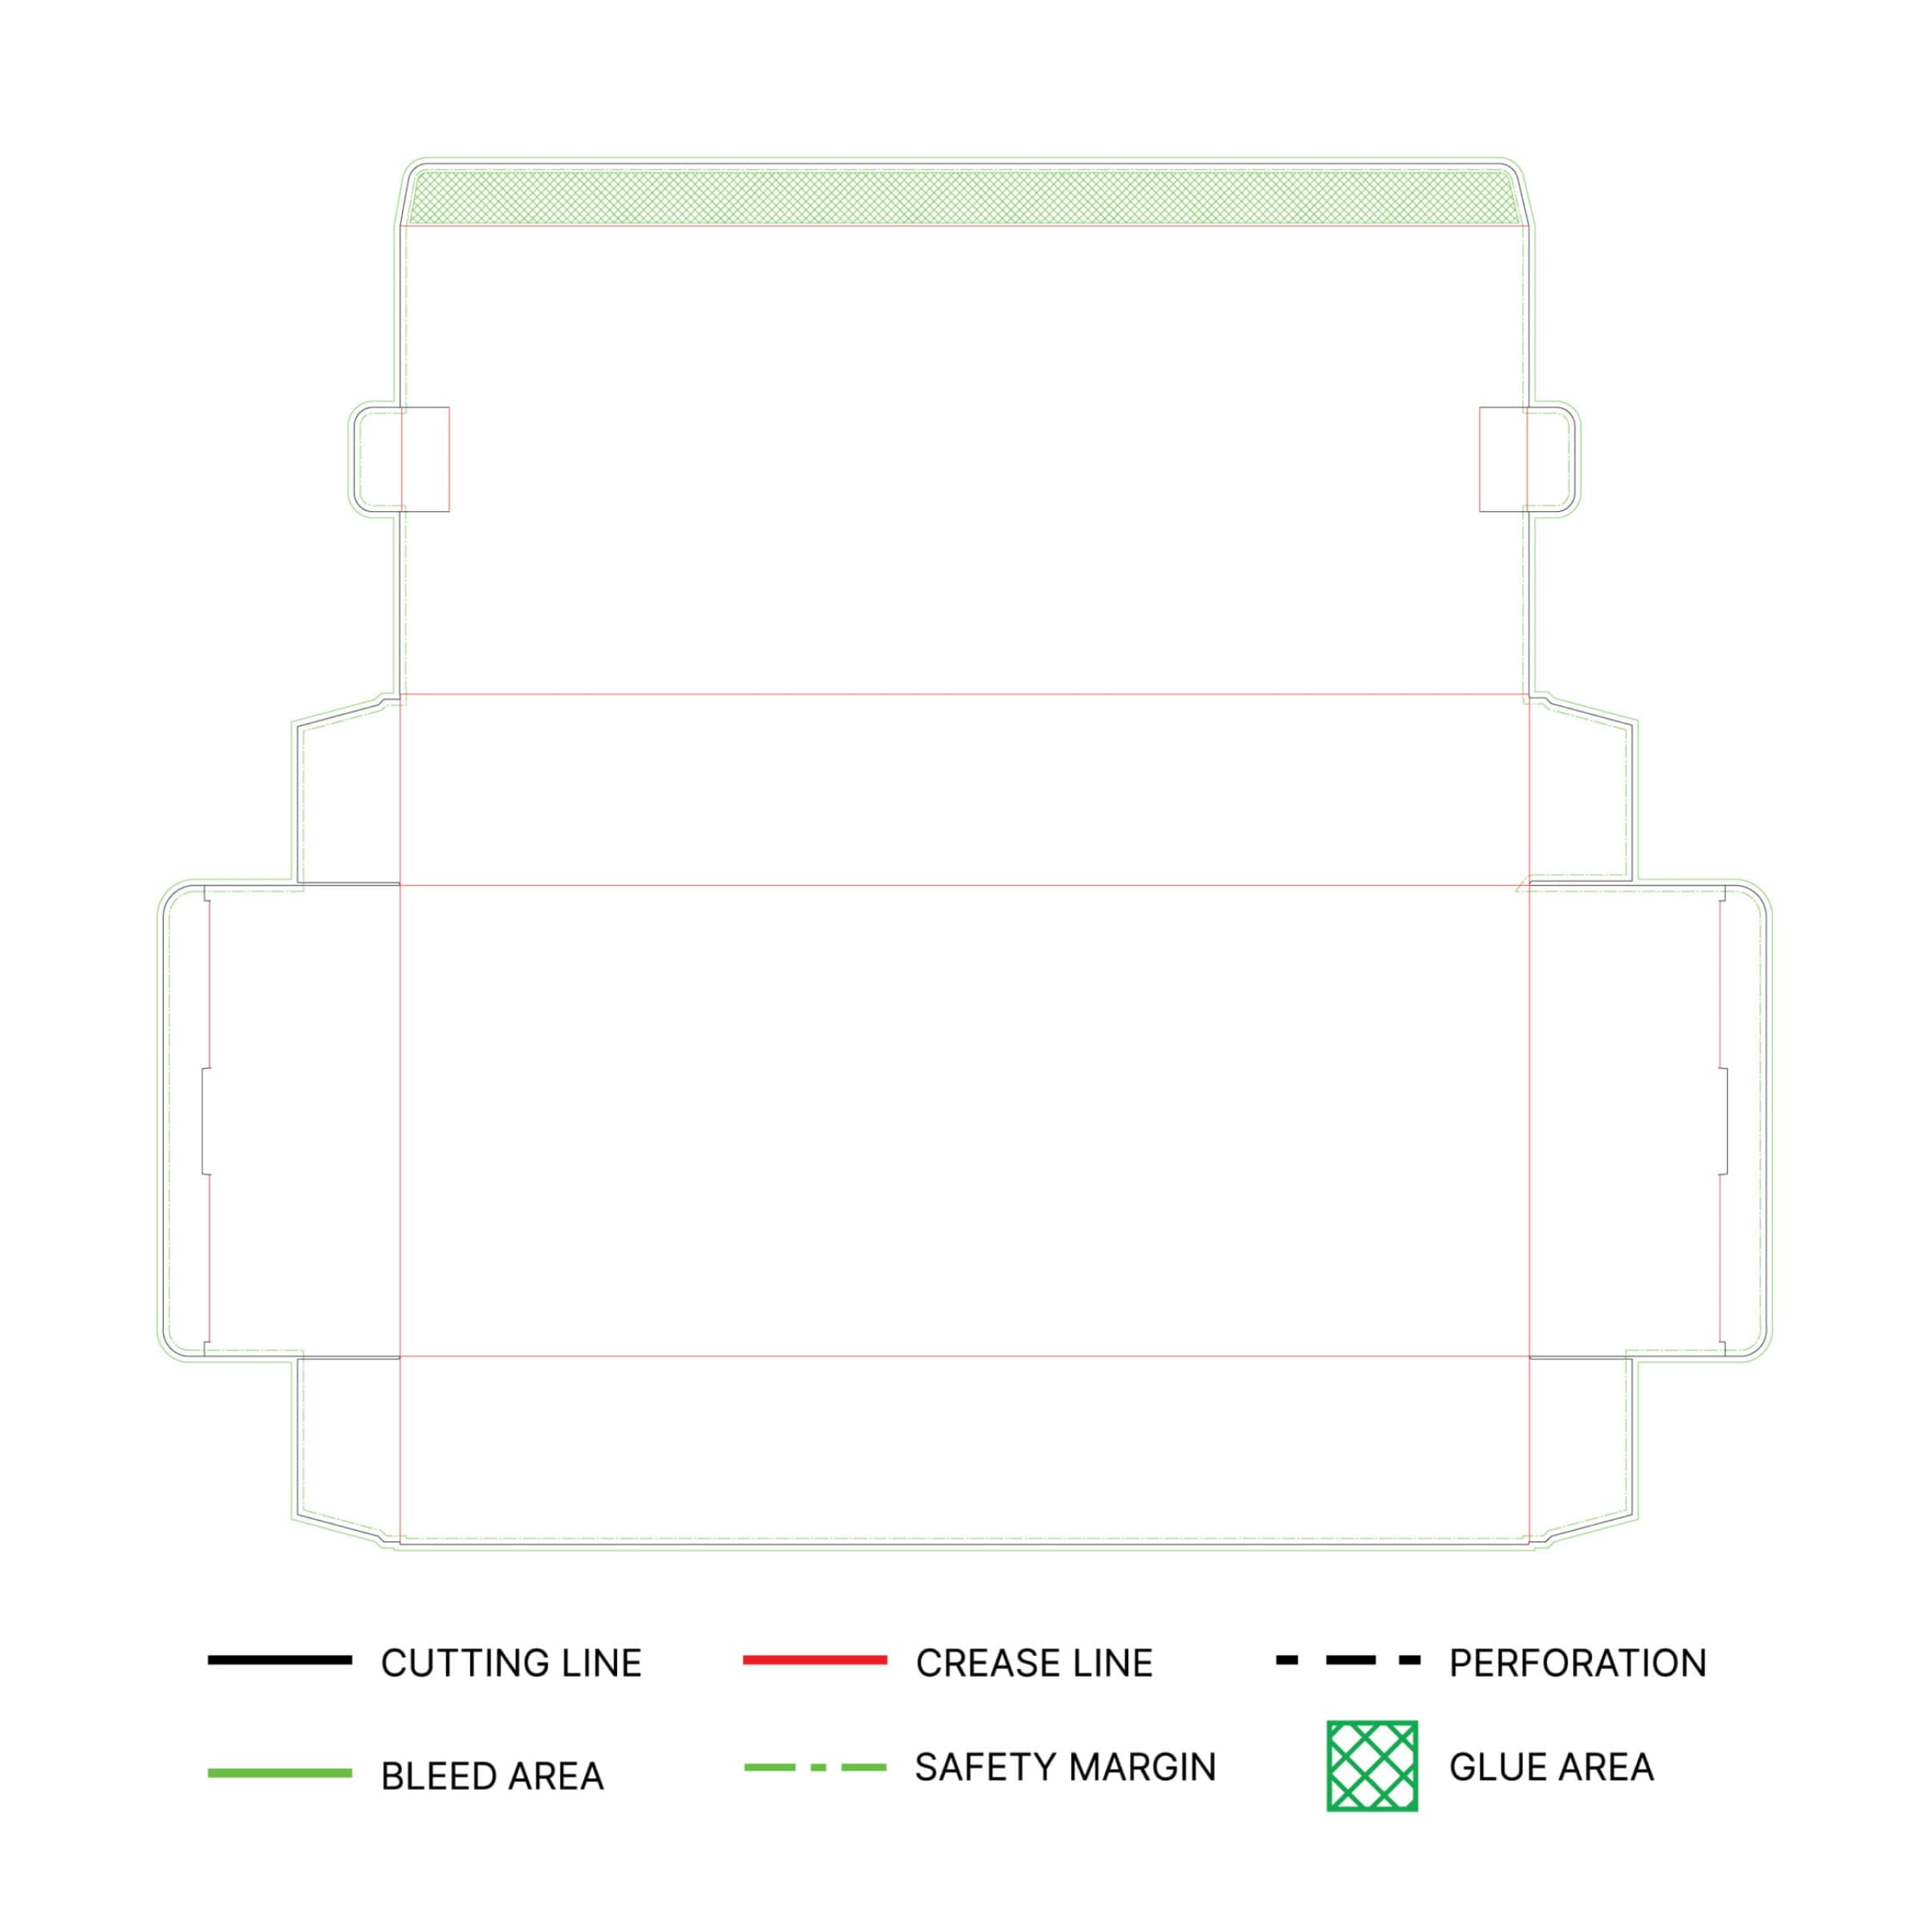
When placing and positioning your artwork designs, it’s essential to understand what these lines mean. Please remember that each company will have its standard for the colors mentioned, but the ones outlined are related to PakFactory’s standard for dielines. With that in mind, let’s look at what each color and line means.
Cutting Lines
Marked in black, cut lines are probably the most crucial part of your dieline. They communicate where to cut your dieline to construct your final packaging.
Crease Lines
Crease or fold lines are usually marked in red and communicate where to fold your packaging. The red dotted lines ensure ease of construction for your packaging once complete.
Bleed Lines
Bleed lines are marked in green, separating excess space from the space that will ultimately feature your artwork design. Bleed lines help prevent any obscuring of your artwork and ensure your packaging design remains how you planned it on your vector file!
All artwork should ‘bleed’ over into the next panel or onto the excess space beyond the cutting lines to prevent a white border from forming around the design’s edge.
Safe Zone
The safe zone is marked as a green dotted line and indicates to the printer which areas are guaranteed to be seen on your custom-printed boxes. Safe zones help printers align, ensure printed artwork is placed correctly on the finished project, and account for any stock movement during printing.
Glue Tabs
Your glue tabs will be shown as green crisscrosses to indicate where glue needs to be placed in the construction of your packaging. Do note that some packaging structures, like auto-lock bottom boxes, do not require a glue tab as they are designed to work without glue or tape.
Prepress Workflow and Proper Artwork Design
We mentioned the prepress printing process before, but what exactly is prepress?
Prepress involves all the printing processes and procedures between designing the print layout and the final print. Follow the below prepress workflow to ensure the best accuracy and quality of your dieline designs.
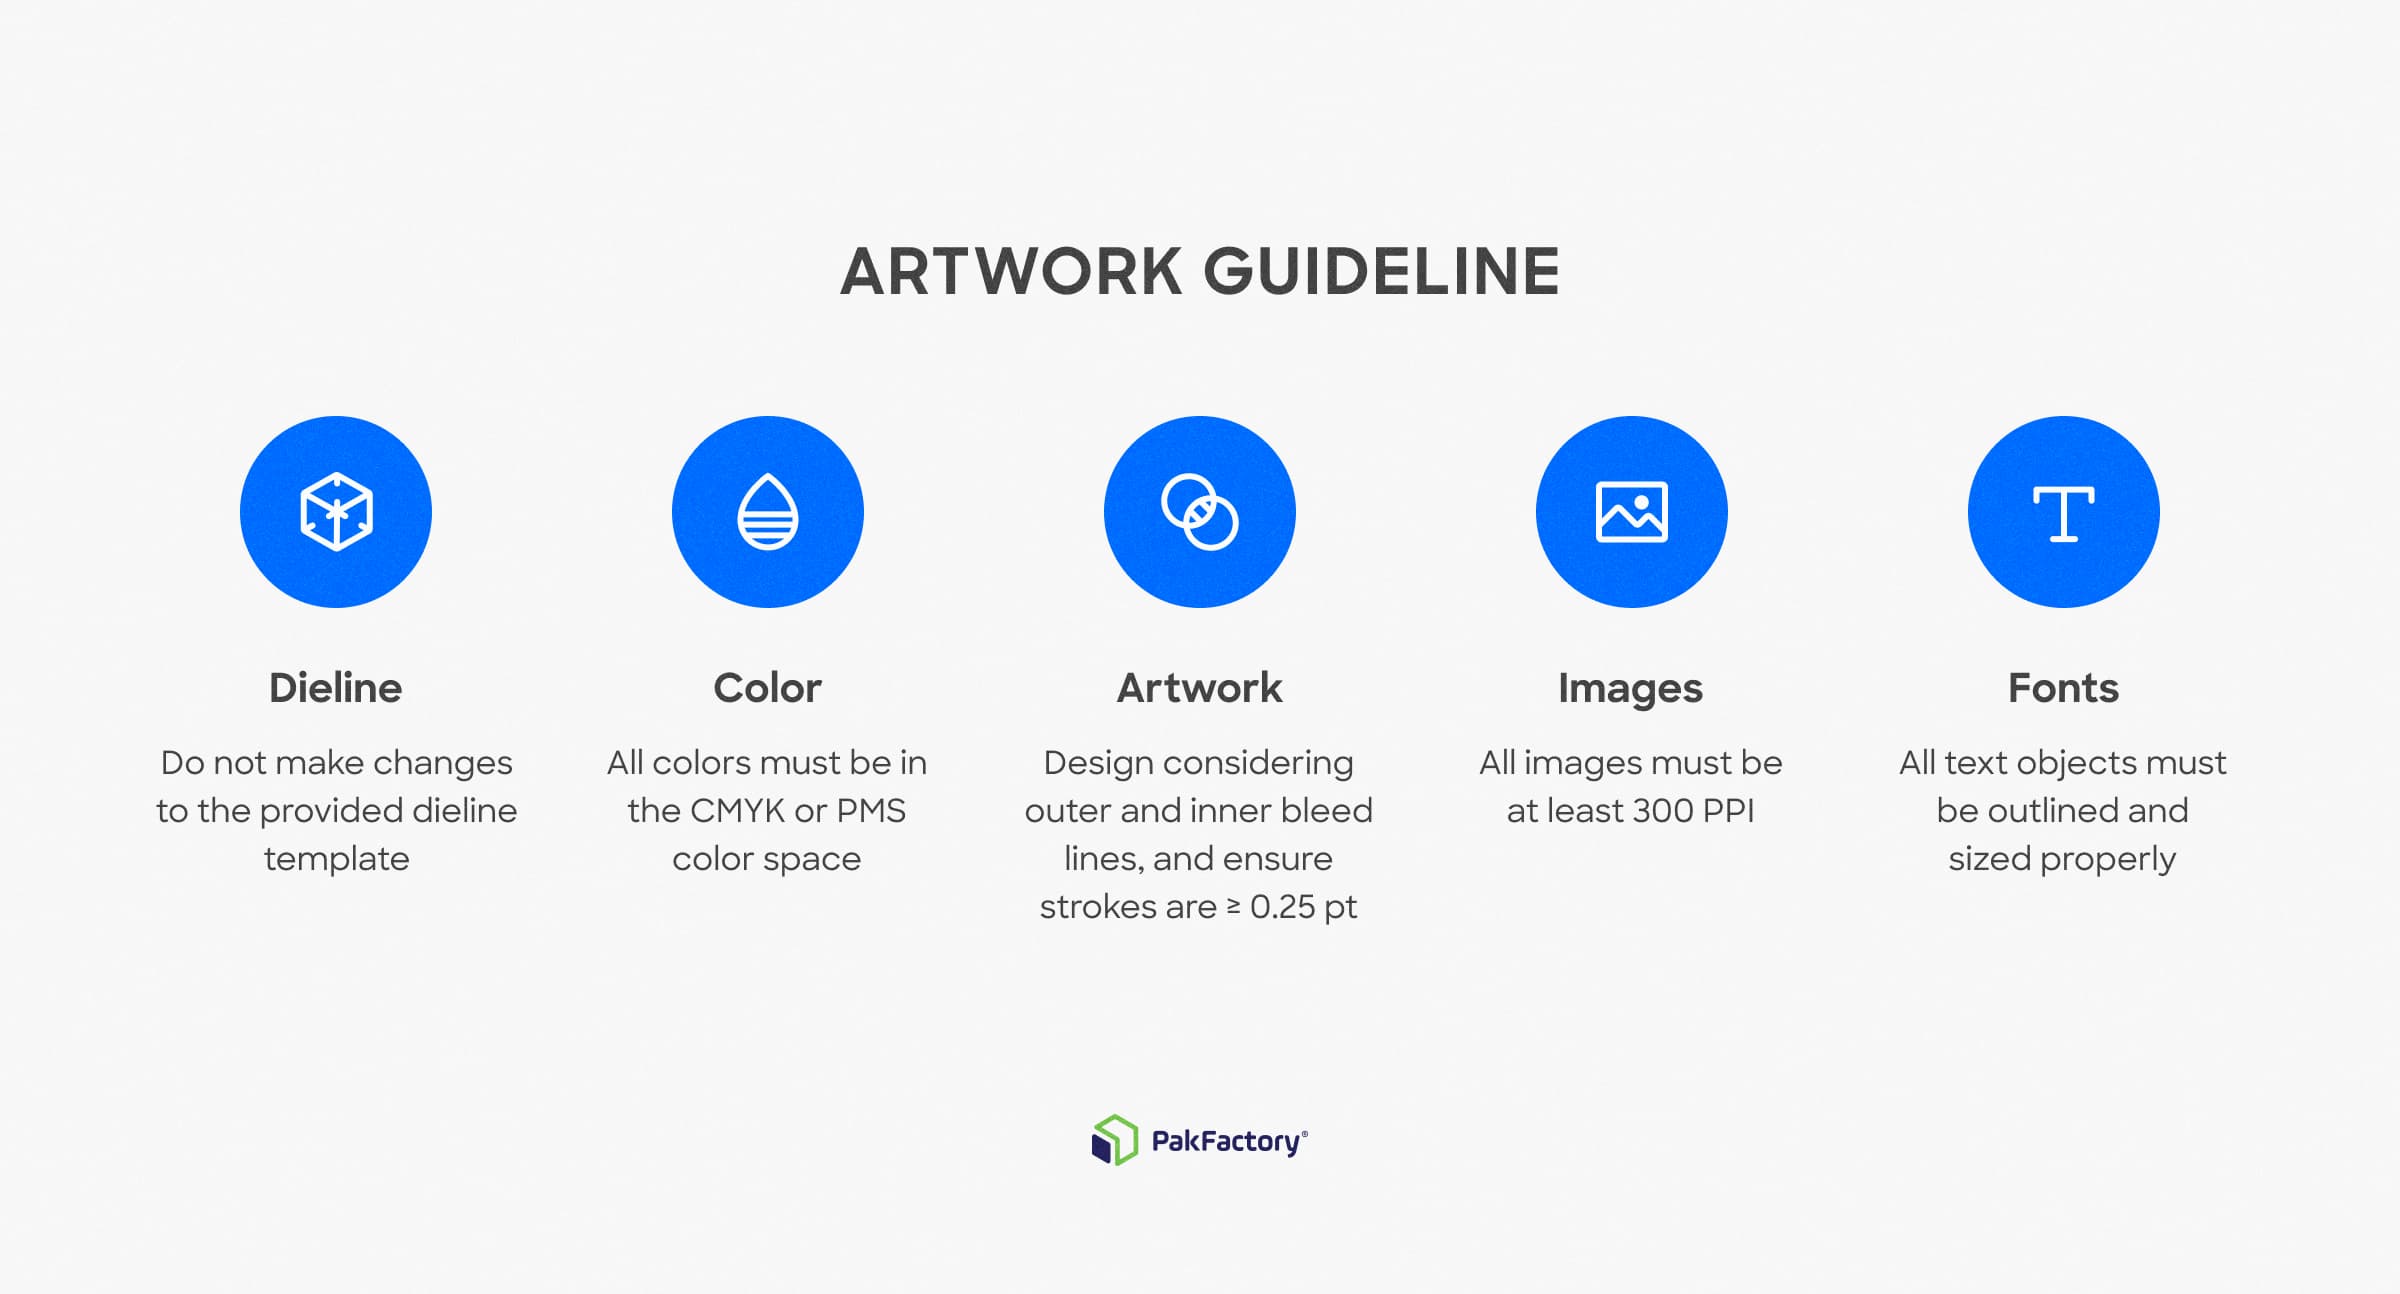
- Dieline: DO NOT flatten/scale/resize dieline templates.
- Color: Artwork files need to be formatted for the CMYK colorspace. CMYK will provide the most accurate color results when transferring your designs from the computer to a printer. PMS color code must also be indicated along with a swatch.
- Artwork: When designing your artwork, ensure any artwork ‘bleeds’ into the bleed areas to prevent white spaces but have your main artwork and information within the borders to avoid cutoff. Also, ensure that any thin lines in your artwork be at least 0.25pt.
- Images: Embed any images you use and set the resolution to 300 DPI to avoid blur.
- Fonts: Place fonts last after all artwork, images, and color are complete. Ensure the text size is at least 6pts, and for black text, QR codes, or UPC barcodes, use 100% K value. Finally, convert all fonts to outlines. Outlining ensures the inclusion of your selected typeface and avoids issues of missing fonts. Select your text and find “Create Outlines” under the type menu to do this.
When submitting designs to PakFactory, we have provided a simple checklist to follow that will help you. But now that you’ve finished your dieline, it’s time to consider the printing method.
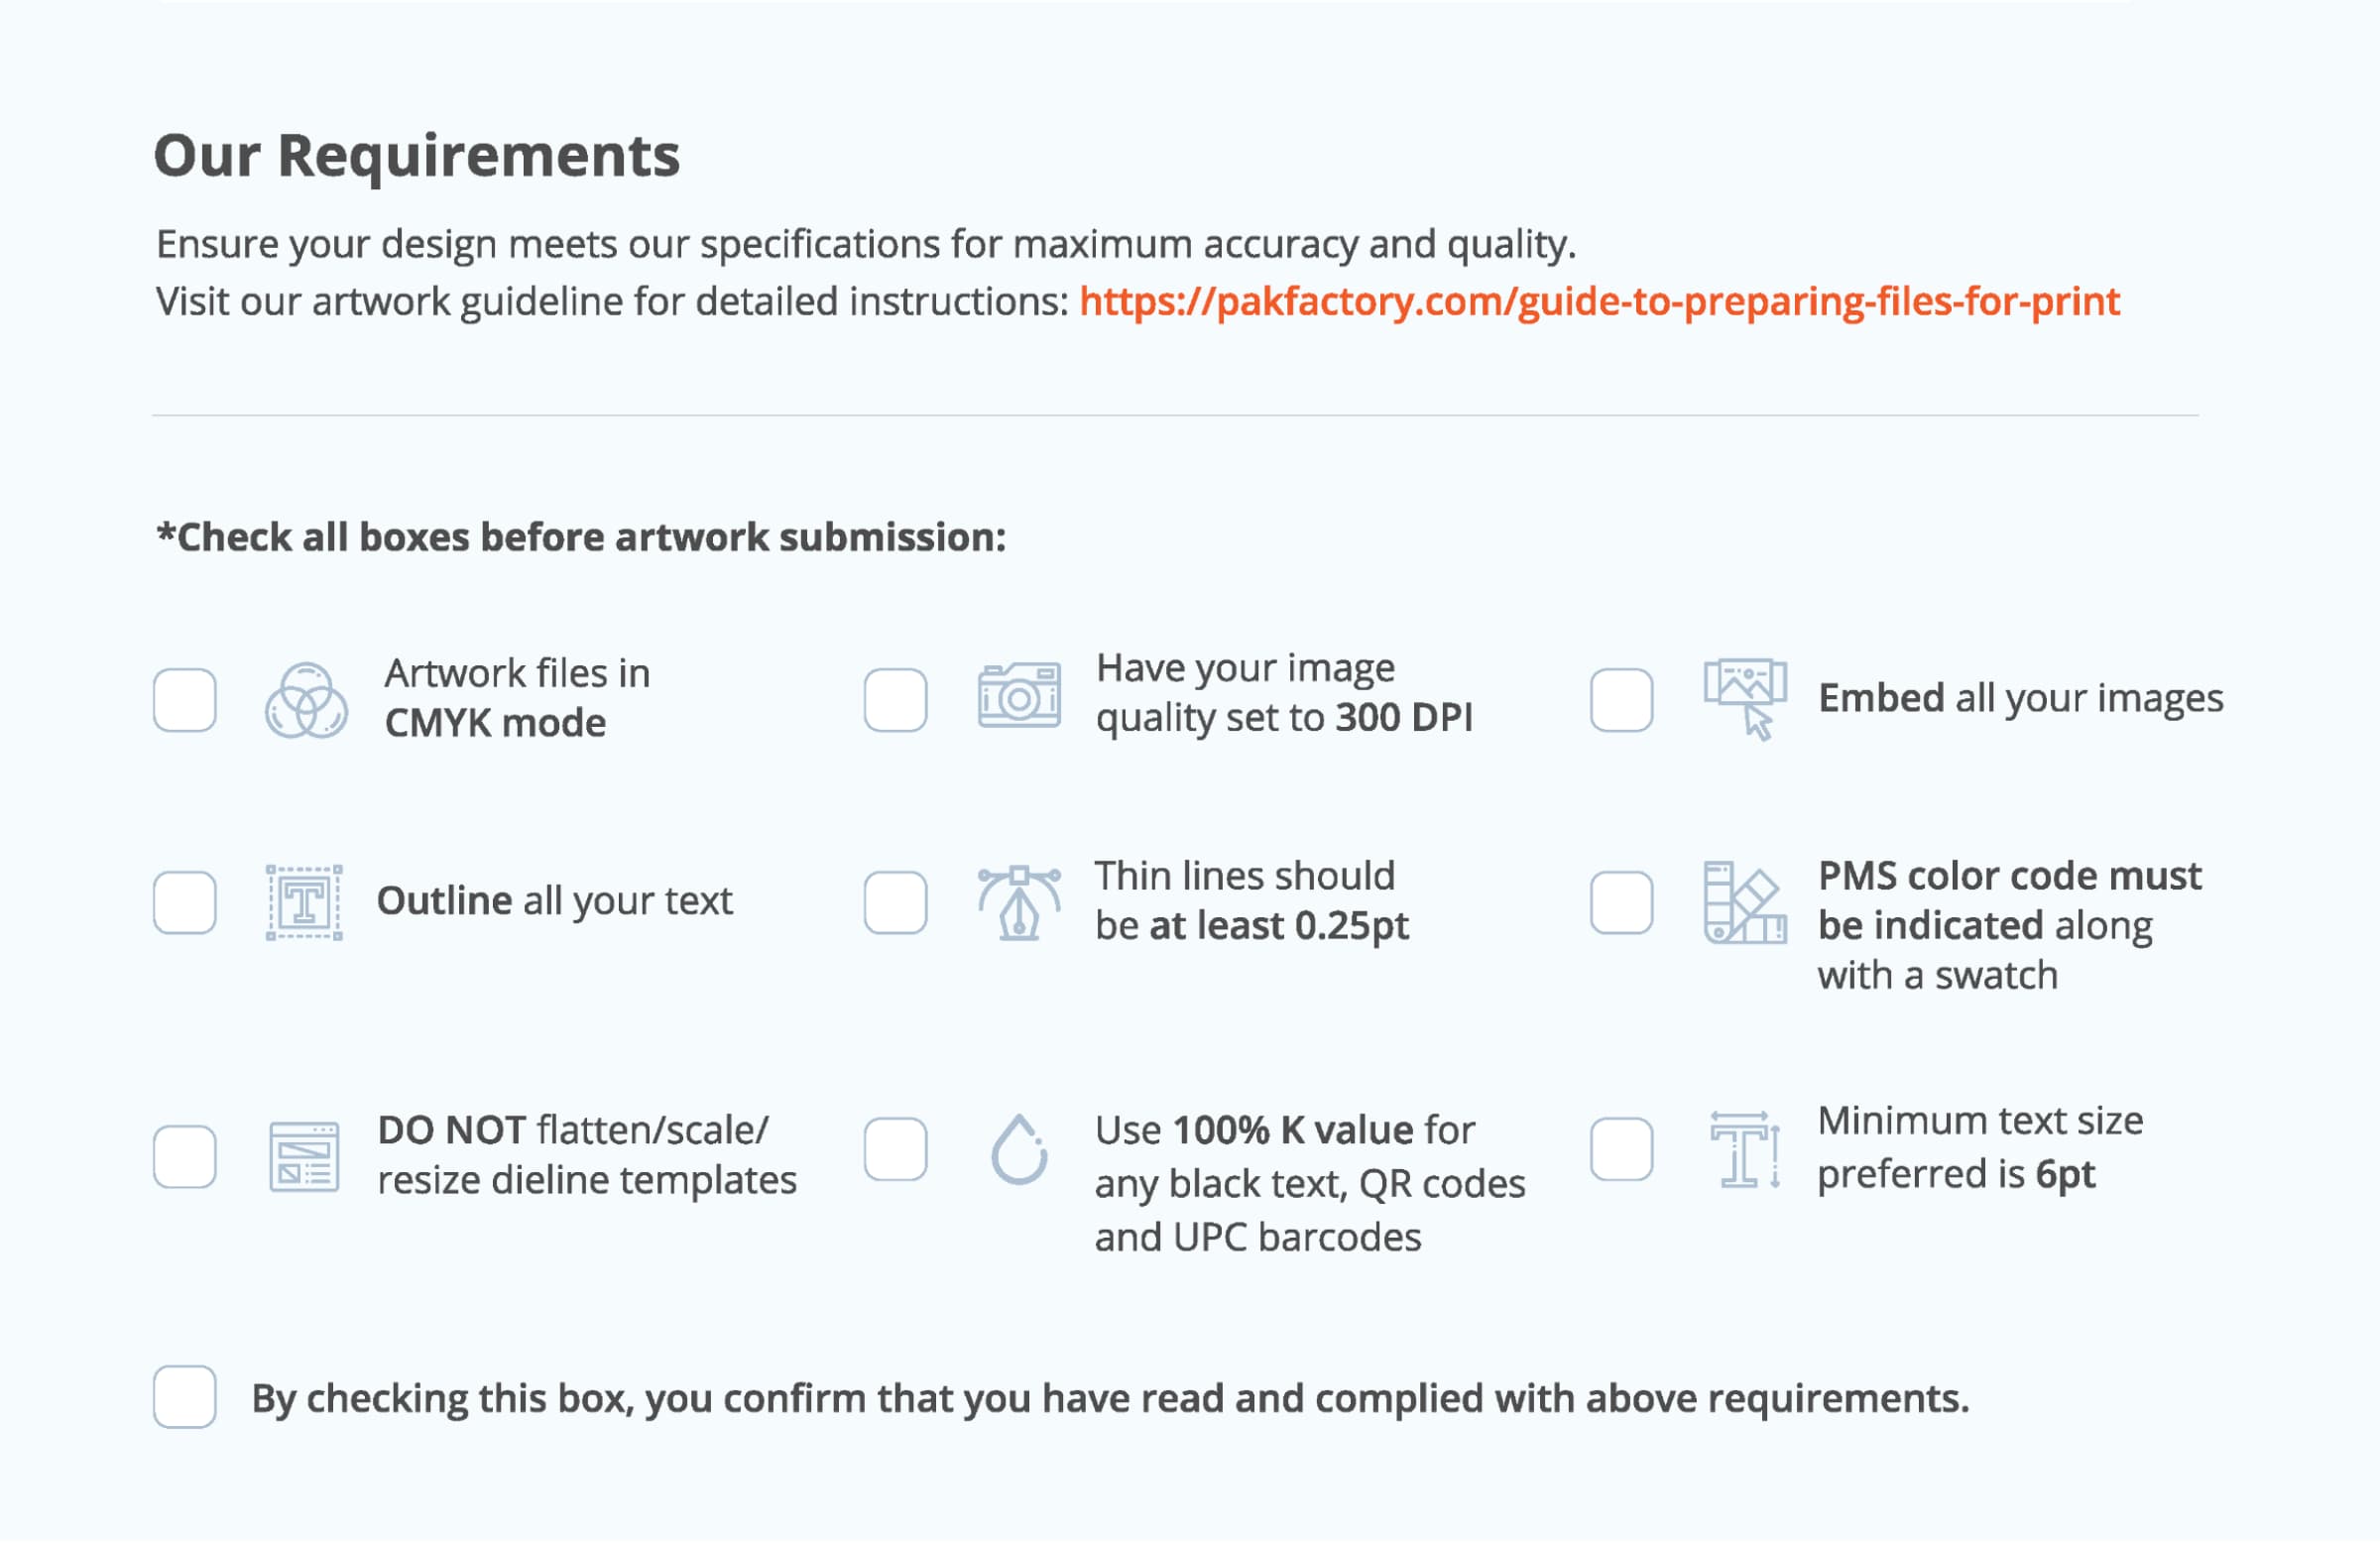
Read more on how to prepare your artwork on Adobe Illustrator.
Choosing the Right Printing Method
As previously discussed, dielines are printed on large sheets of the material of your choice before being cut out and constructed. Linking back to the size of your packaging, opting for bigger sizes of your dieline may not be effective, as it may not hold its shape after construction, and printing may not be possible on sheets as large as you would need.
So, once again, it’s essential to consider the minimal size your product needs to comfortably sit inside the packaging so your dieline is at a reasonable size for printing.
Source: PakFactory
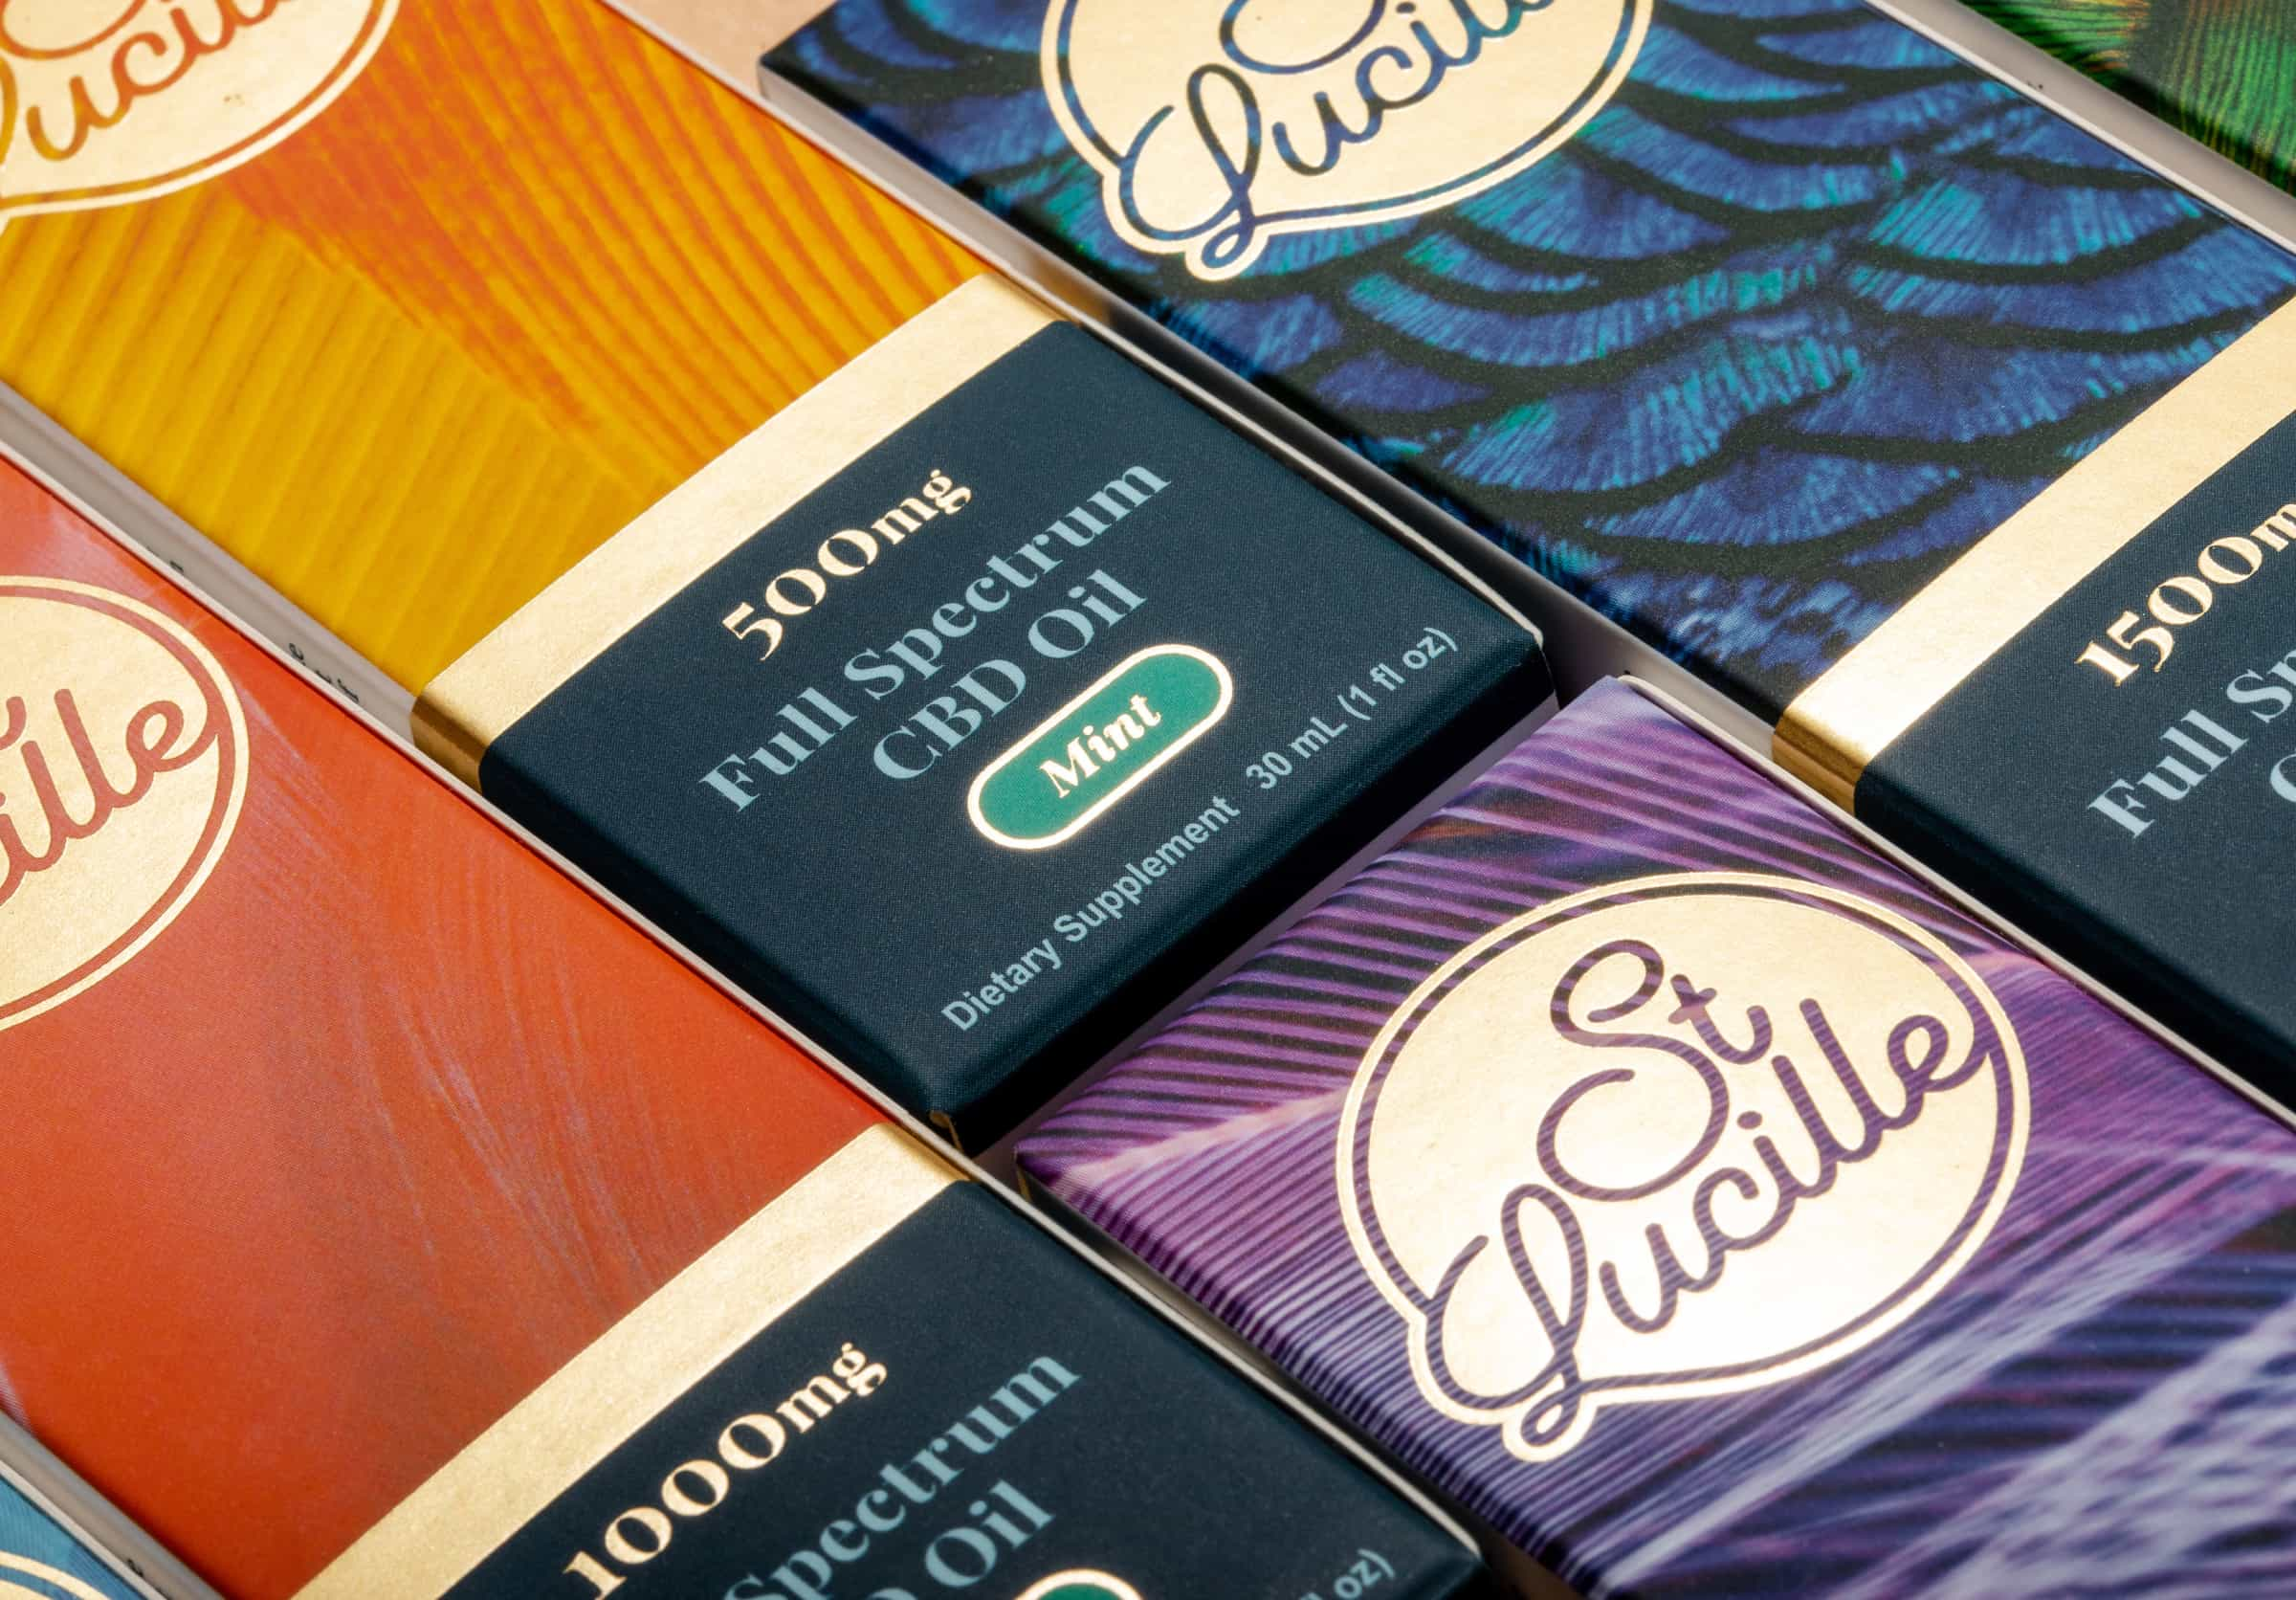
Other things to consider are the vibrancy and complexity of your artwork designs. If your artwork designs are vibrant and complex, you’ll likely opt for offset printing to ensure the highest quality results. This is also important for designs that feature a lot of text, as it needs to be easily legible for customers.
Alternatively, for designs that are more minimalistic or don’t require exceptional clarity to be impactful, digital printing may be more suitable for your packaging design.
Getting Ready for Manufacturing
Once you finalize your dieline design and choose your printing method, it’s pretty easy to feel 100% confident in your project and send it off for mass production. However, it’s essential to put your packaging through quality control checks to ensure it can withstand any conditions it may face before mass production.
Source: PakFactory
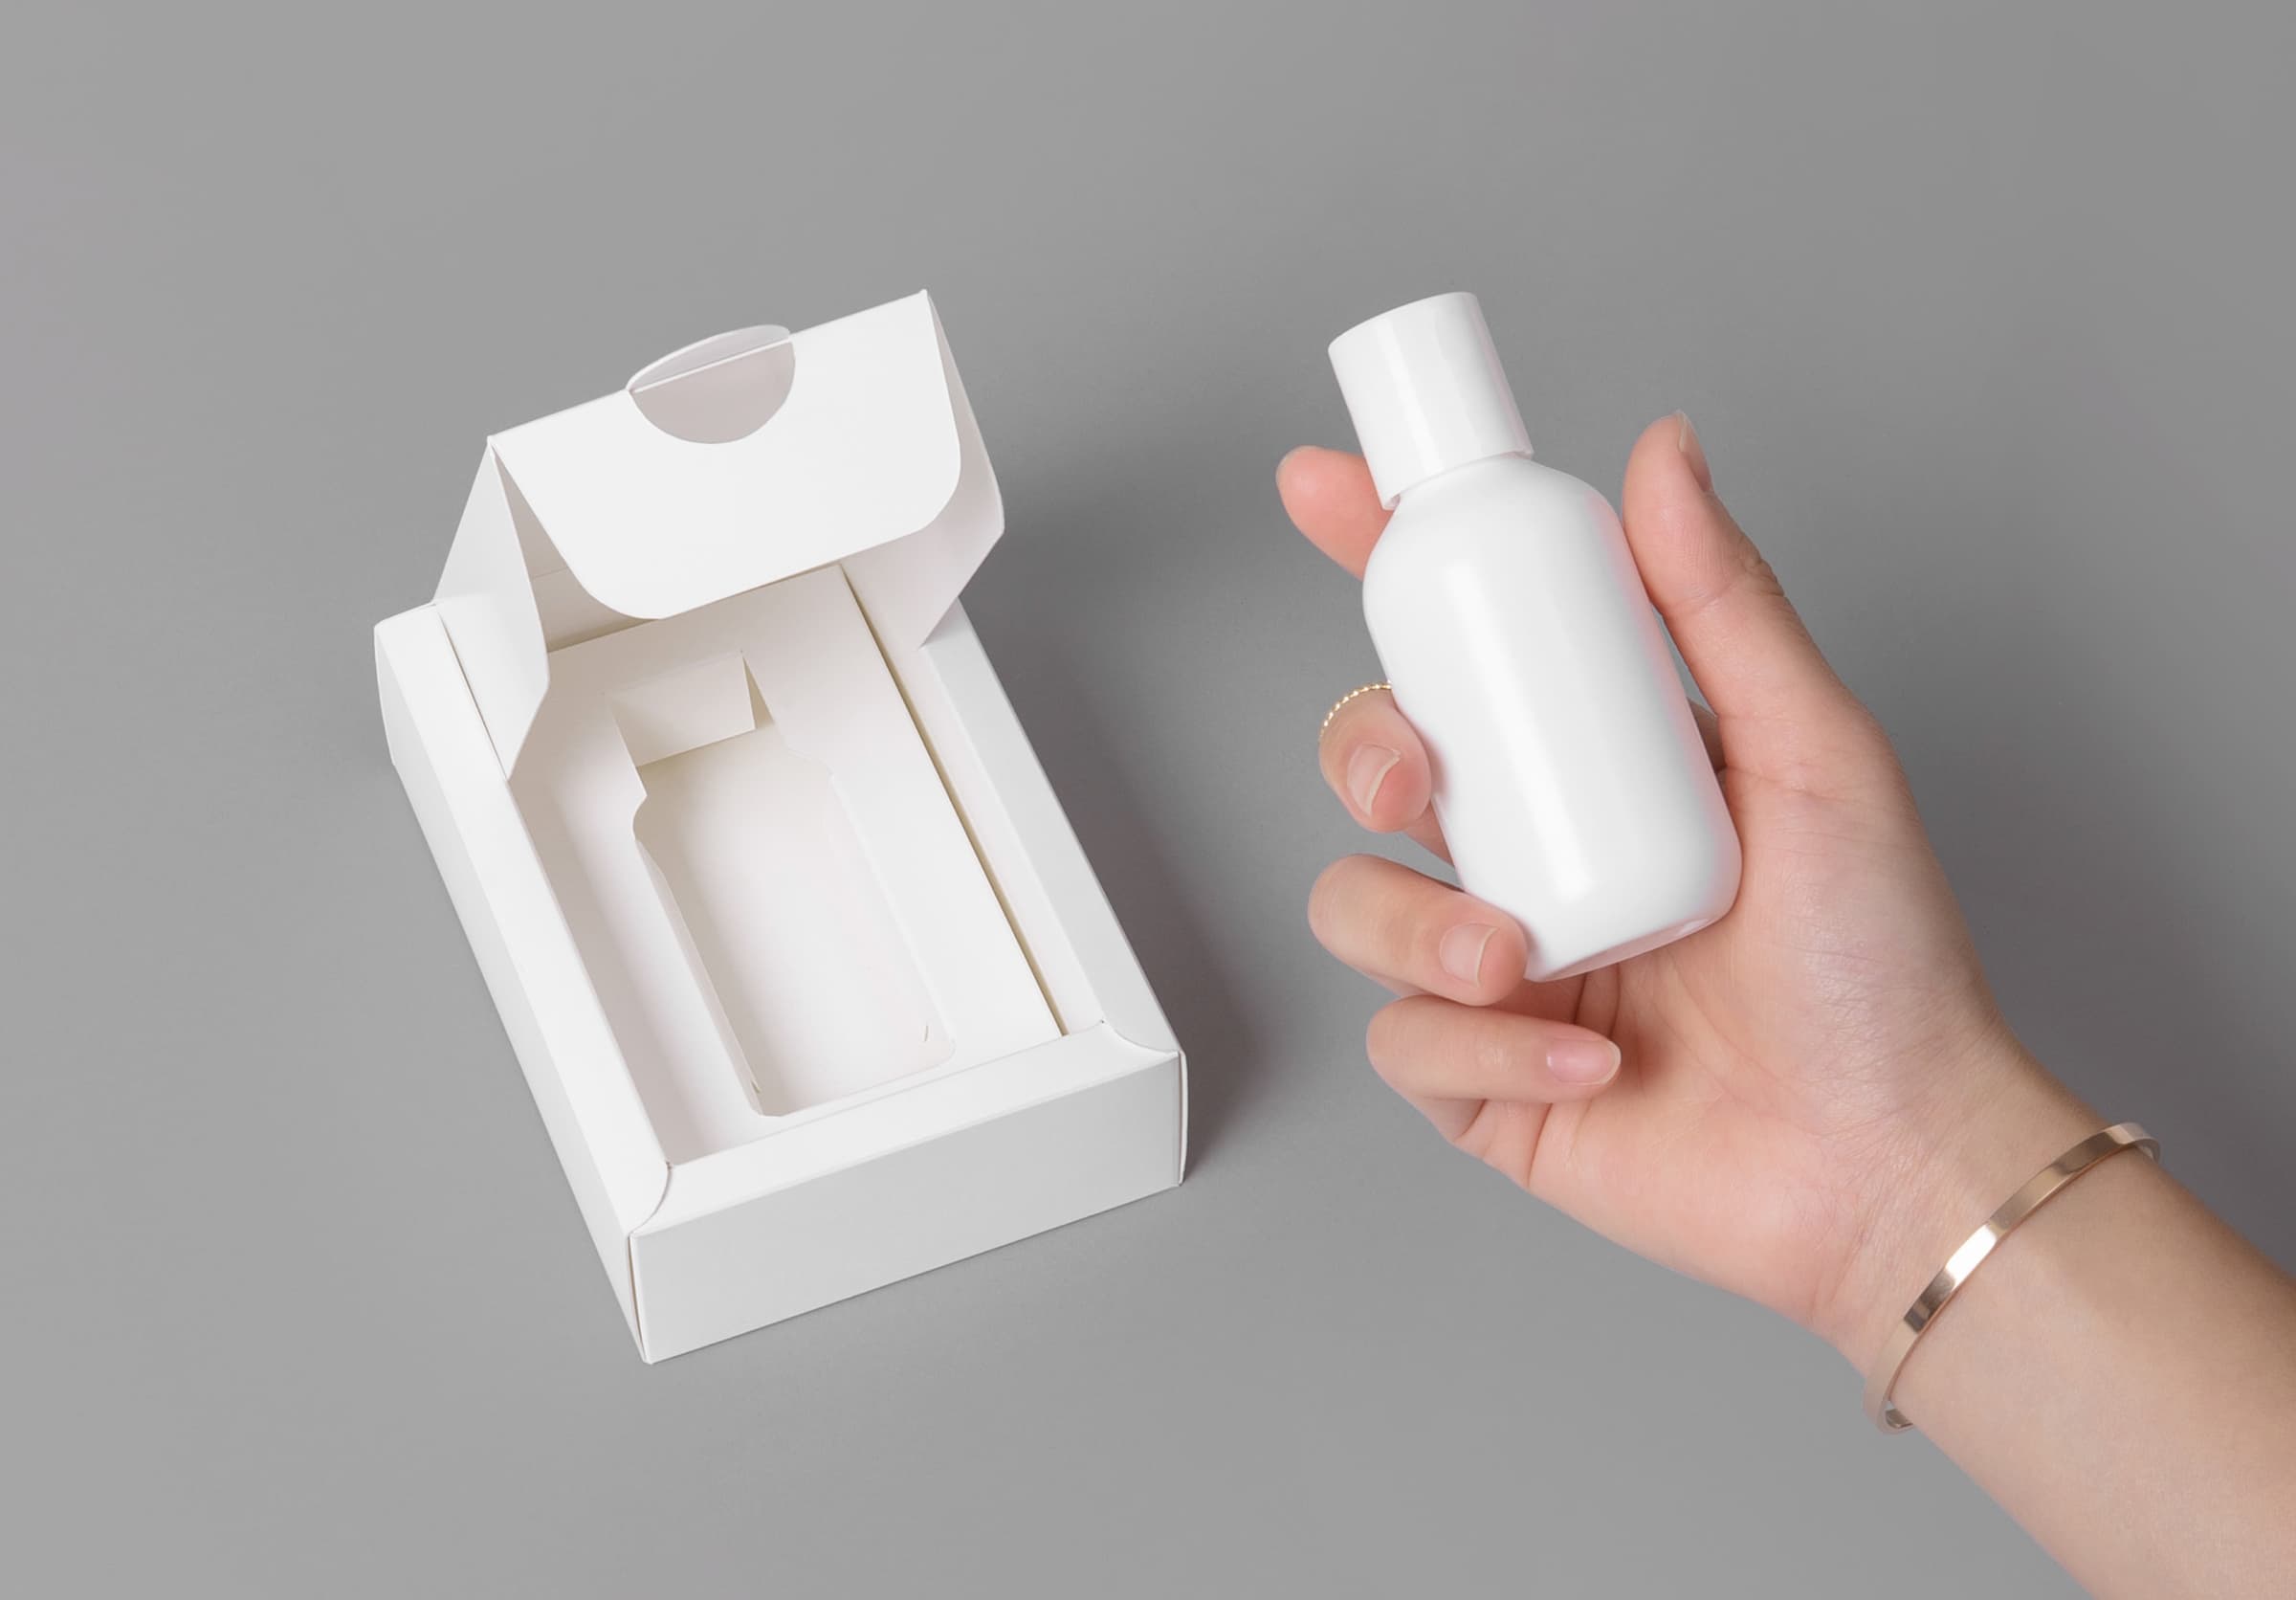
Work with your manufacturer to prototype your final design before mass production. This way, your packaging designer or manufacturer can alter your box dieline depending on any structural issues it may have faced during the quality control process.
Ordering a sample of your finished design will allow you to physically interact with your packaging and reposition and fix any errors in artwork design or text that may appear on your final package. Read more on why ordering samples is important for your packaging.
But once you have approved your prototype samples and made any necessary changes, that’s it! Your packaging dieline is ready for mass printing and production.
Final Dieline and Prepress Checklist
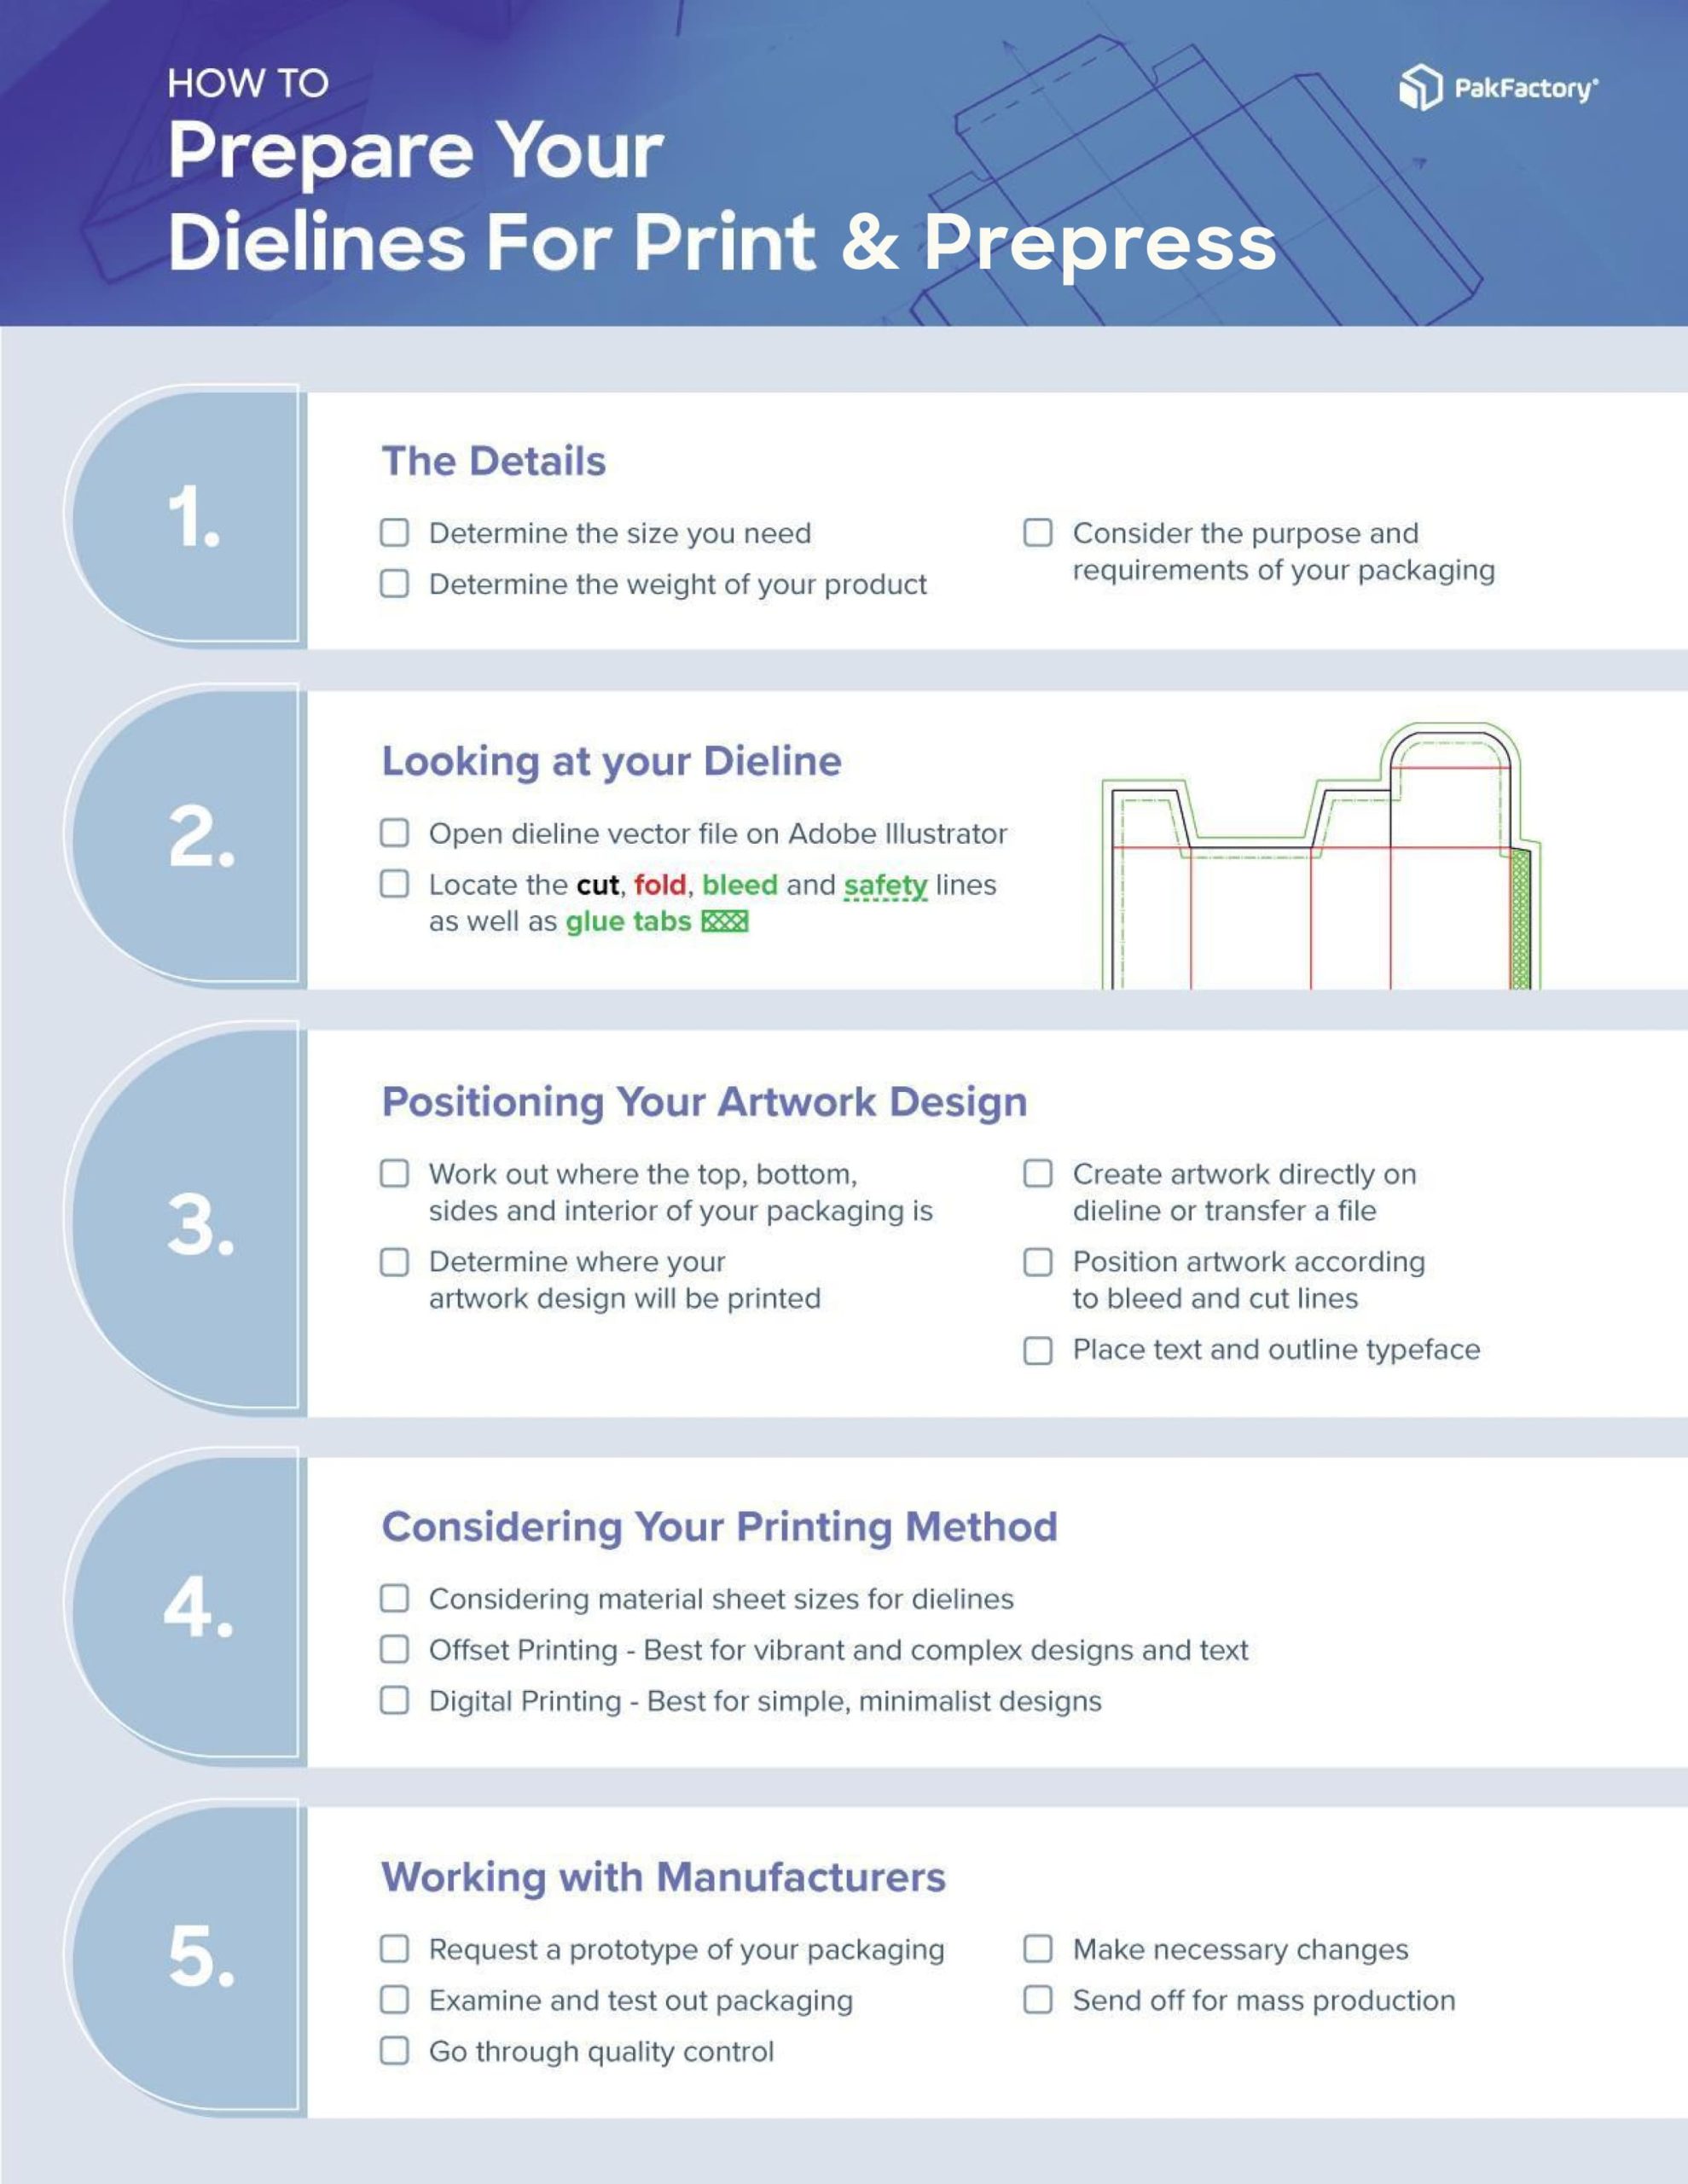
Creating packaging dielines can be daunting, which is why packaging design and structural engineering services are helpful! PakFactory has a lot of experience working with different businesses across industries on their packaging designs, and dielines are no exception. Hopefully, we’ve made preparing a packaging dieline for your project more manageable with the above information and checklist.
However, if you have questions or want to continue your journey into custom packaging further, contact one of PakFactory’s product specialists today!


